

2. Planning your plot
Top tips on designing your space for effective growing.
If only I knew what I know now.
Planning a flower farm is one of those endeavours, that no matter how much you read and plan, you only really know how you will use your space once you have grown in your space. And by then it might be a little late.
Sounds promising doesn’t it?
Here are the top 5 considerations for planning your plot lay out -
1. Consider the facilities available and what you might need.
2. Layout and Orientation.
3. Placement of a Polytunnel or Greenhouse to propagate.
4. Compost Heaps.
5. Delivery Space.
1. Facilities.
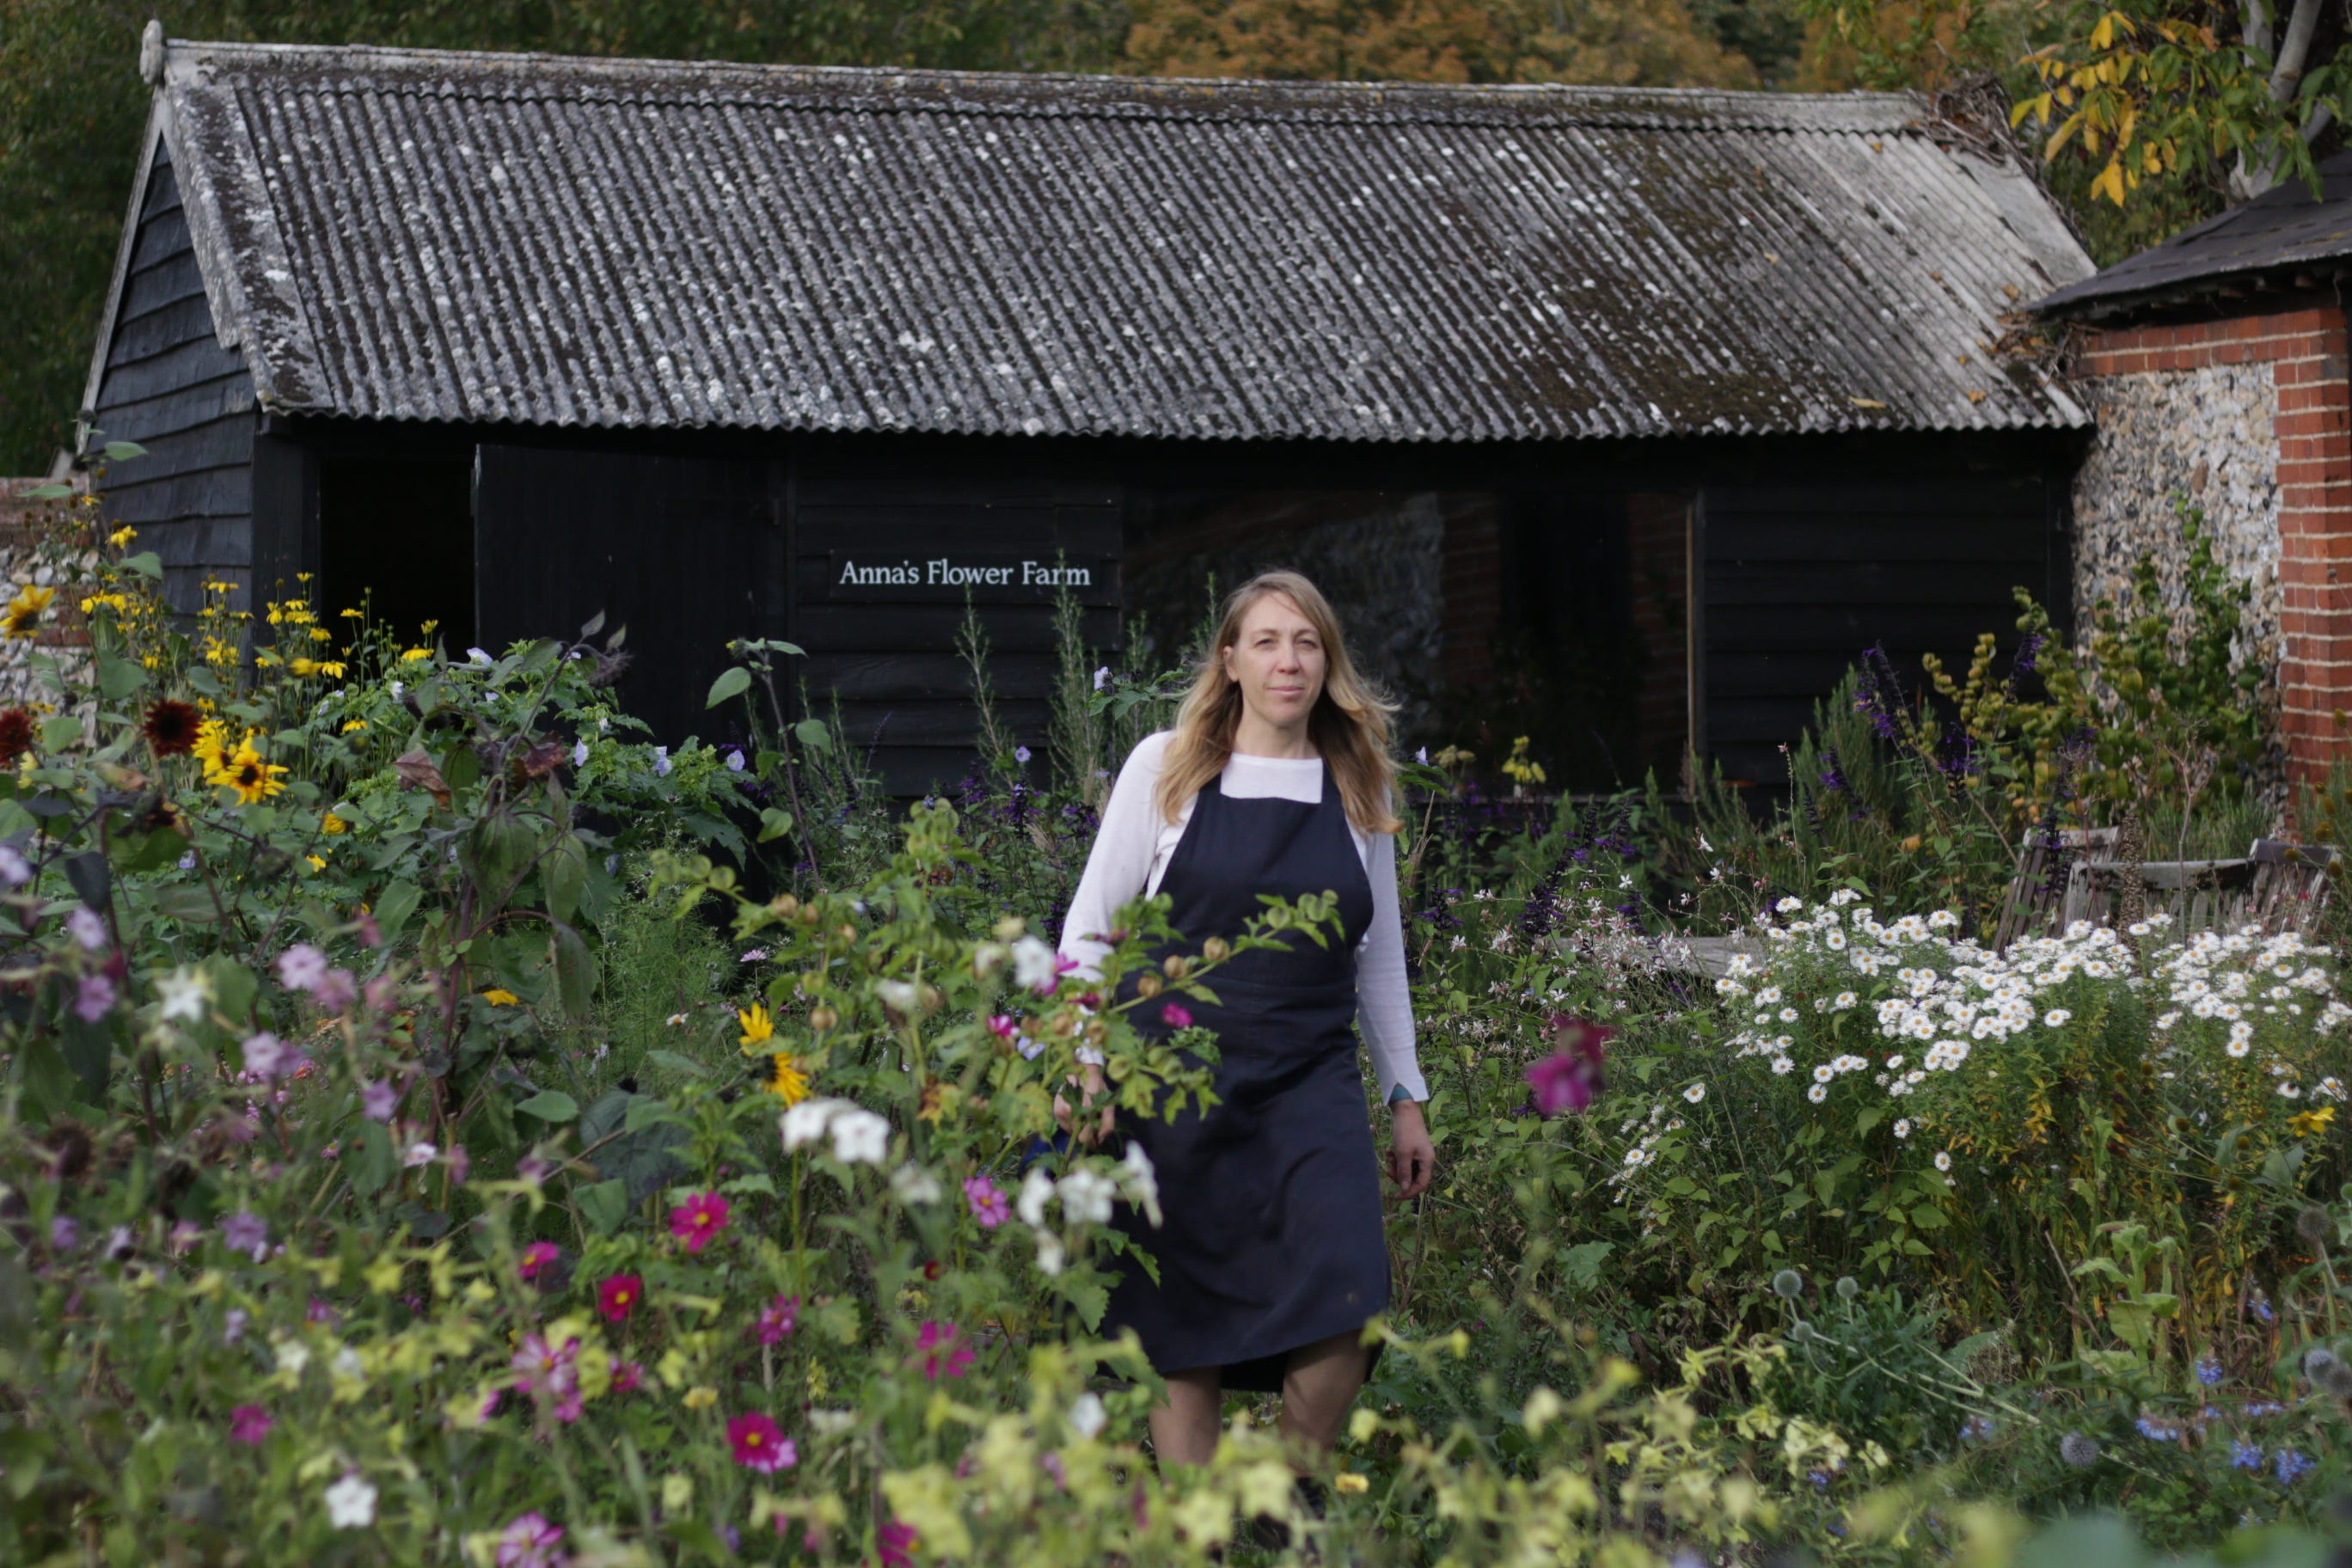
Obvious facilities to consider are : access to water, fencing and a sheltered place to place flowers in.
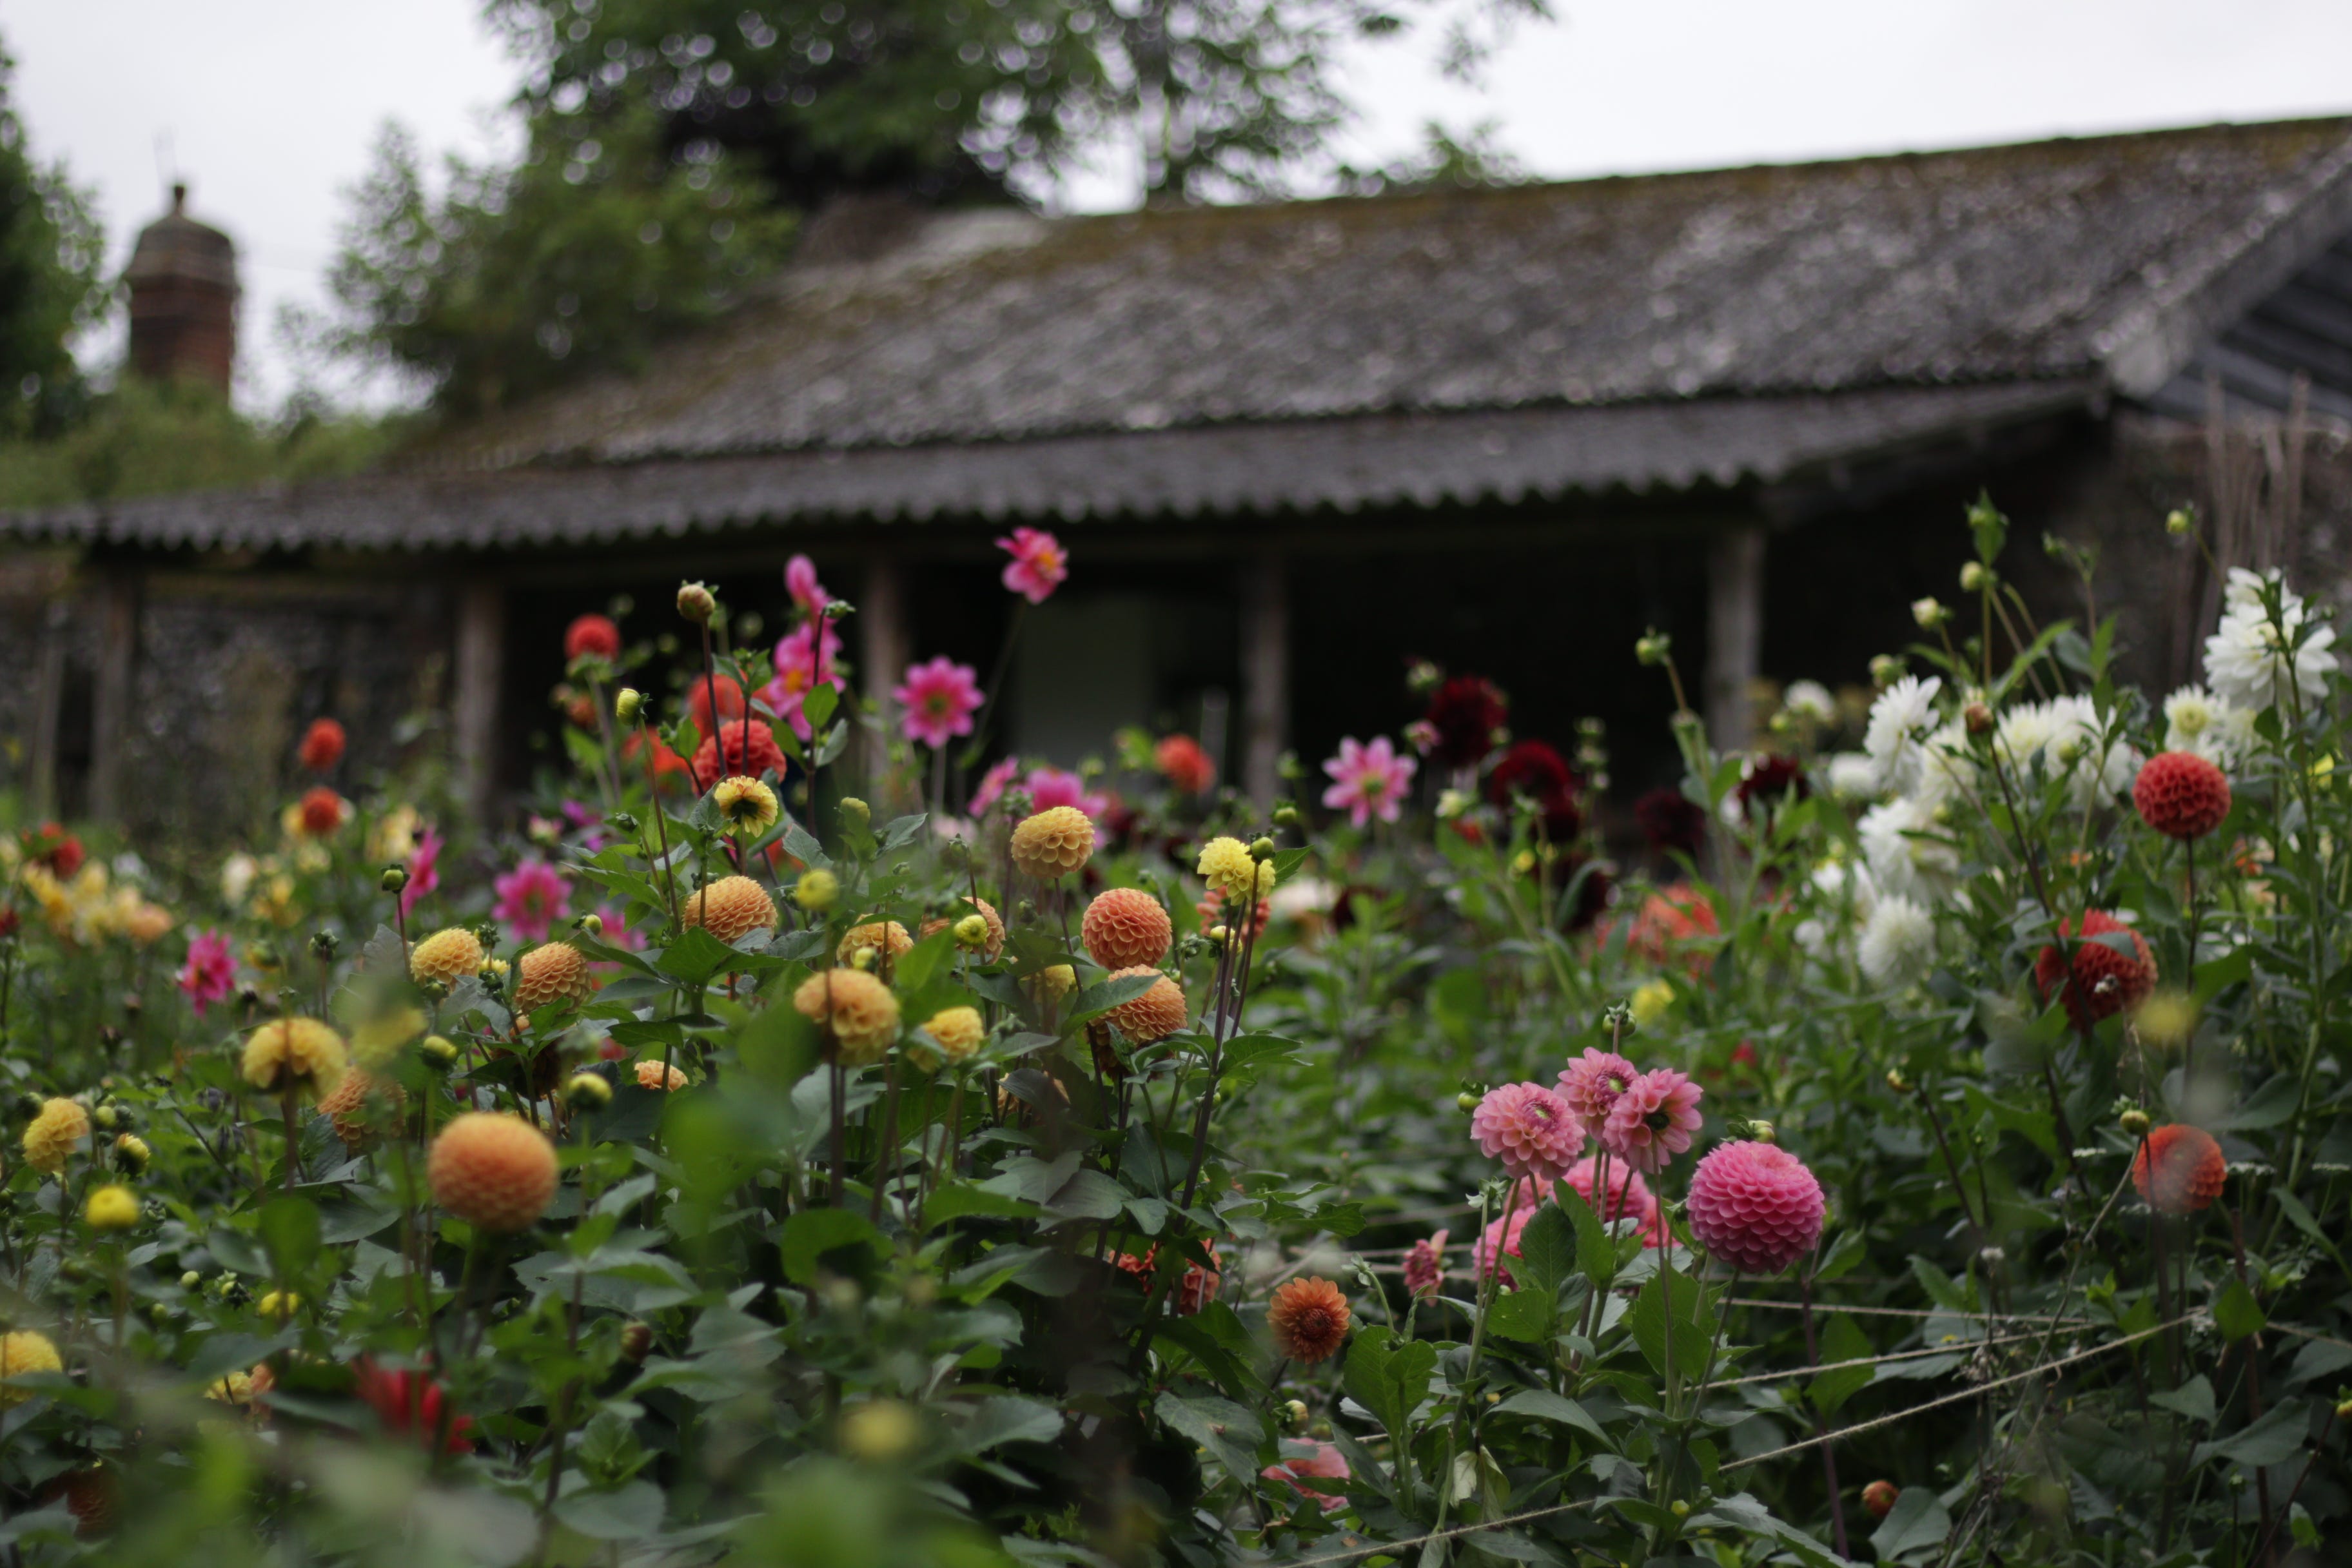
In the walled garden, there is a tap and lots of guttering to collect water in water butts. Surrounded by walls and fencing, there is no danger of rabbits and deer getting in. The chickens, so far, have always been safe. In the Walled and Braybrooke gardens, I can’t plant more vulnerable plants and those that need staking, a little extra attention and protection.
Whoever designed the space wasn't a gardener though. It slopes down to the North and the buildings face south. Which means parts of the garden are in permanent shade. It looks picture perfect but it has it’s limitations.
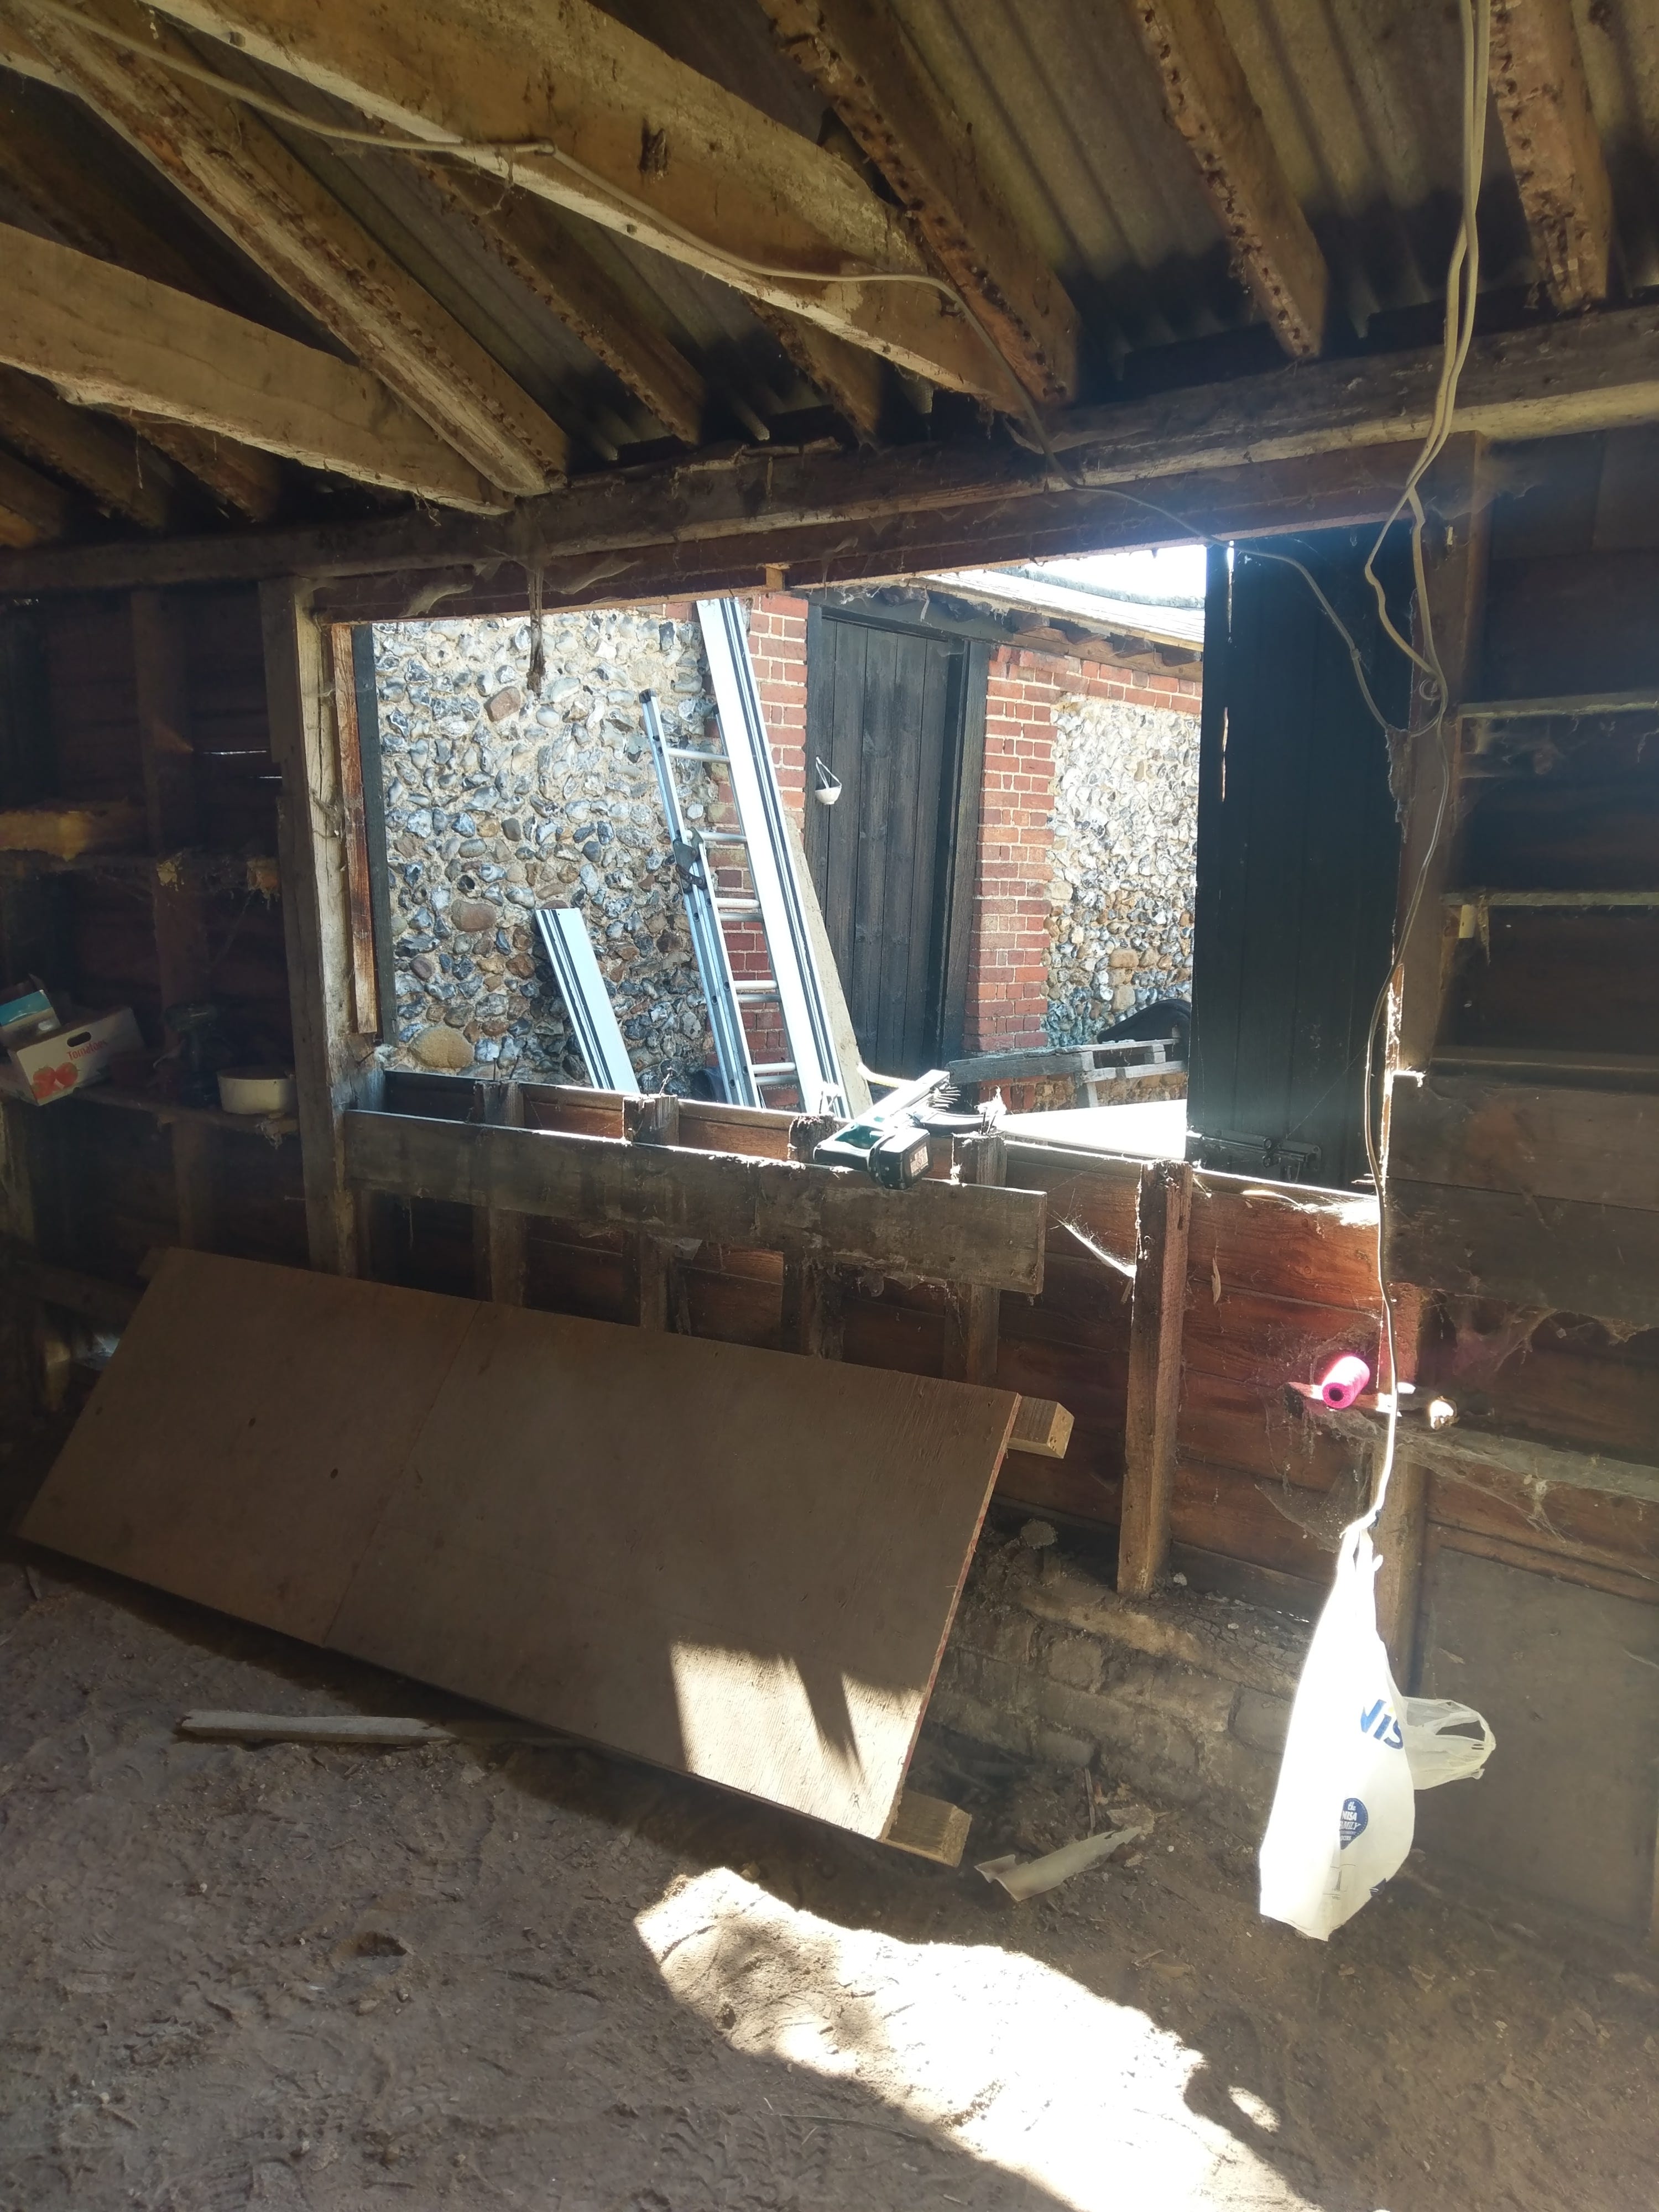
I converted an old shed into a studio, we installed a large window running for most part of the southern facing side, rewired the whole place and connected it to the grid. The entire project has been our largest investment. It means lighting, heating, heat bench and wifi. I can run events onsite or online and even make coffee. Which is essential.
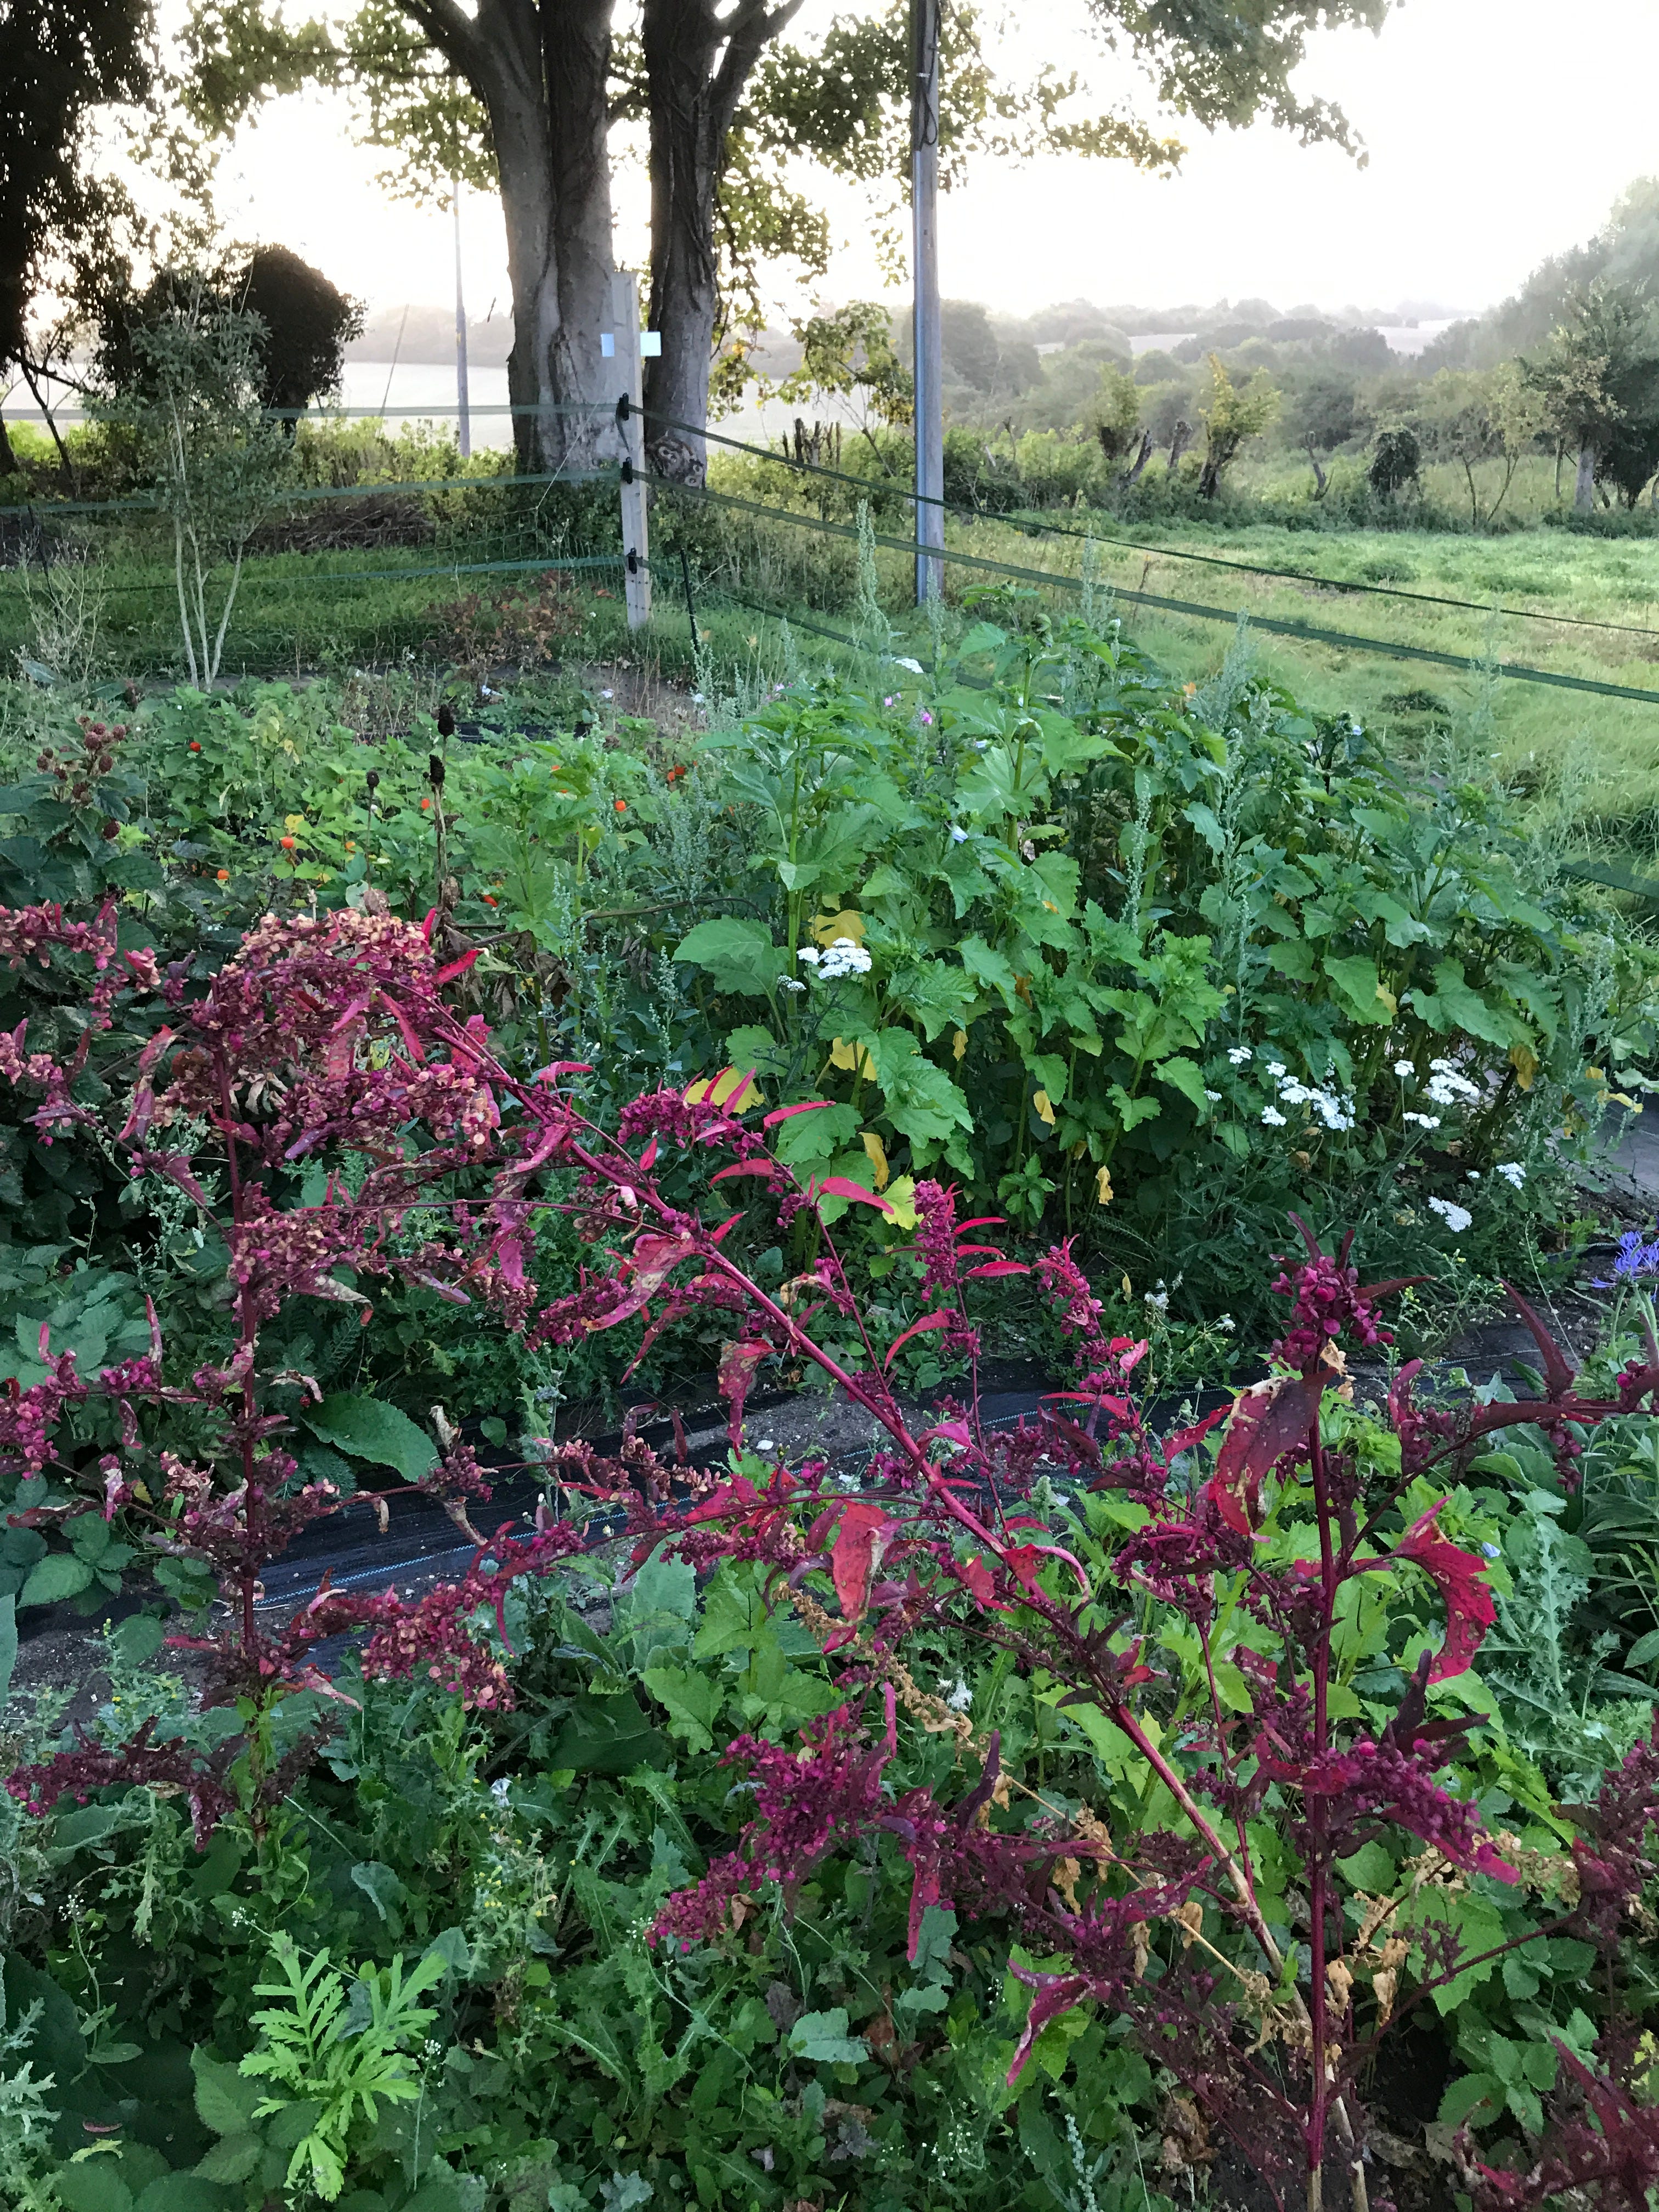
Out on the ‘field’ plot there are 84 linear metres of growing space within a battery charged electric fence. That’s it. Too small to be able to collect water, and the quote for connecting the plot to the utility was un-economical. We have to carry a few watering cans when needed. There, I plant when it is cool damp weather. This plot is for shrubs, bulbs, fruit bushes and perennials that need little attention.
Think about your space, the environment, the facilities, and what is worth investing in for your site. Beware of a costly vanity project and invest wisely.
If I only had a large open field space, I would need to collect rain water in drums for annuals, thirsty perennials and dahlias. I might think about a solar panel or if exposed, a small wind turbine for the fence battery.
A shed or shelter is useful not only for leaving cut flowers to rest in buckets, it offers a welcome shade in the midst of summer and a protected place for your tools, remember that you need somewhere for seed trays, vermiculite, gloves and all sorts over the year to be stored..Ideally this is very sheltered and cool because hot sheds are terrible for flowers!
2. Layouts and orientation.
Our beds run both North to South and East to West in different gardens. Ideally they all run North to South but in some positions, it is more efficient and effective to be east to west. Most importantly, cutting beds need bright open positions, in a sheltered spot. If you have more shade, you need to consider the reduced plants available to use for cut flowers like astilbe, foxgloves and actea. If looking at land, consider the direction of prevalent winds and whether you need to plant a shelter belt on some boundaries. This can give you the extra foliage too. Frost pockets can be problematic as well as bogs and clay veins.
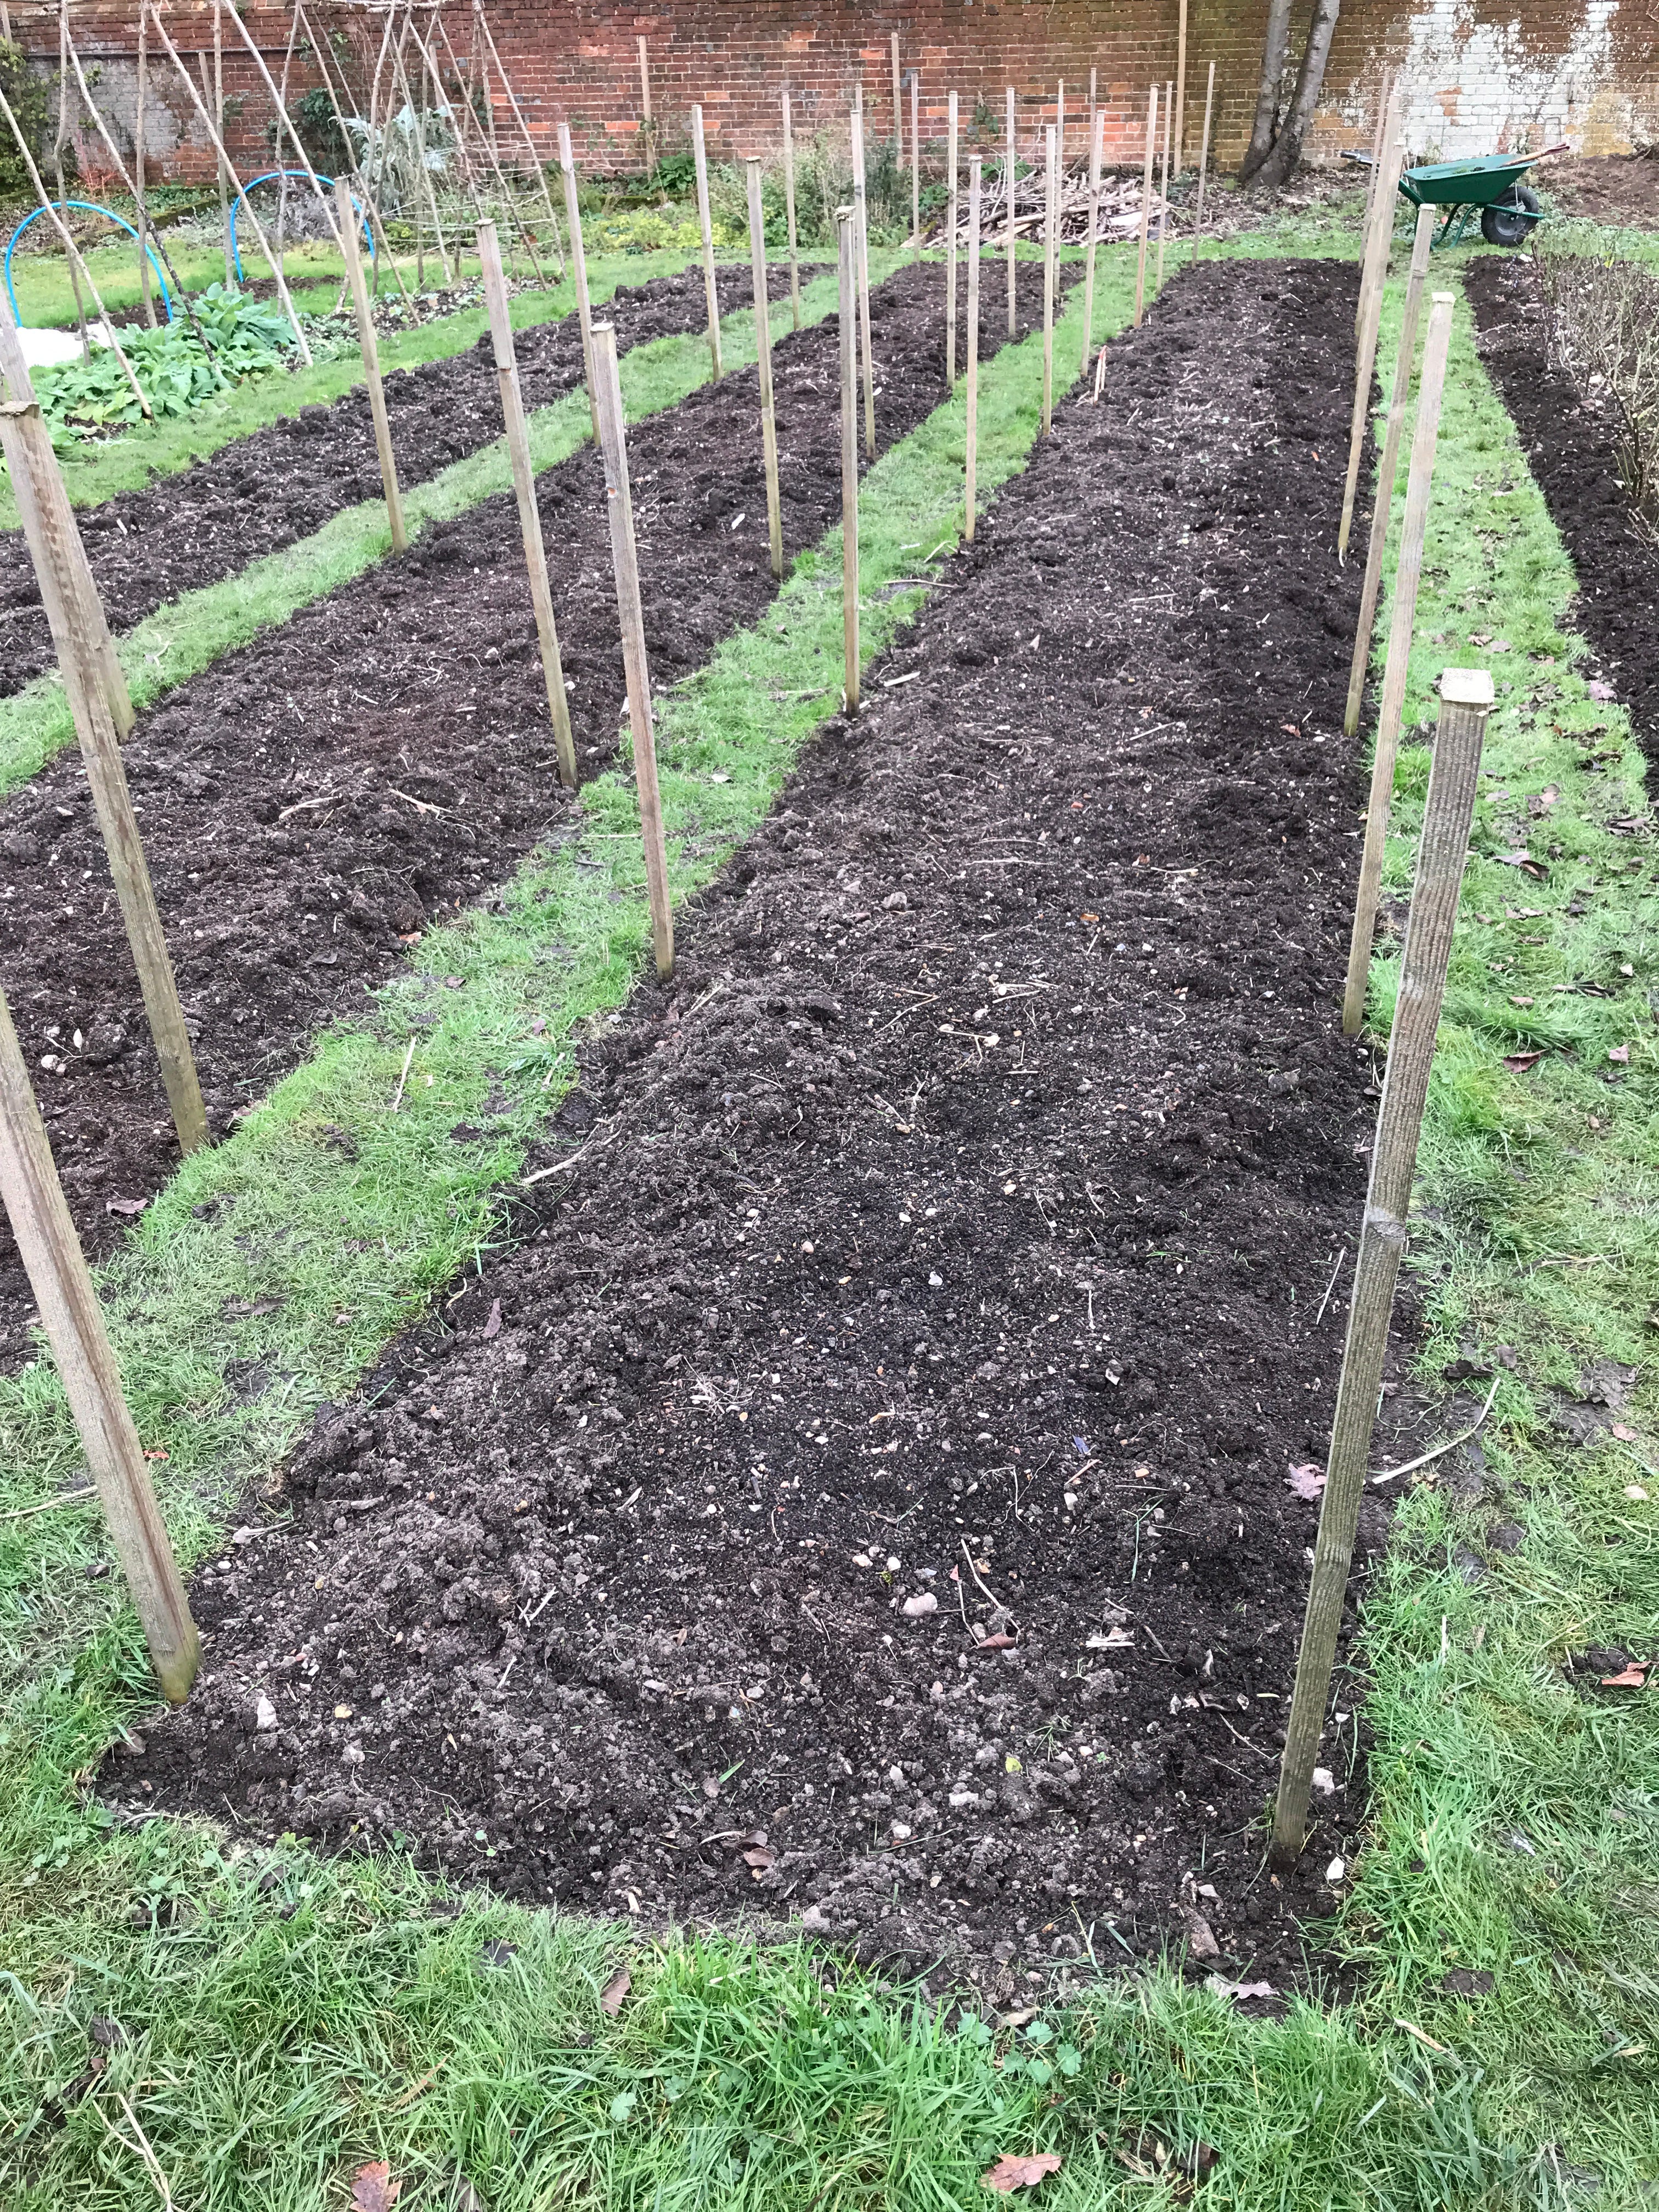
All our beds are 1.2m wide and made in blocks. So beds are 1.2m wide and between 4 and 12 blocks of 1.2m. This means they are wide enough for me to grow a lot of plants in each block but not too wide that I can’t reach into the middle to cut. Paths of grass or membrane (soon to be stripped and barked) are 45cms wide, this is just about enough for the lawn mower to keep garden aisles trimmed and tidy. If you like kneeling whilst growing, consider them wider, for us, this measuring allow us to reach the entire width of the bed at once for planting sessions.

Around the beds is a wider path, minimum 1.2m wide for the trolley to carry buckets of water for flowers or wide barrows of spent plants for the compost heap. We added smaller path reaching around corners of the gardens.
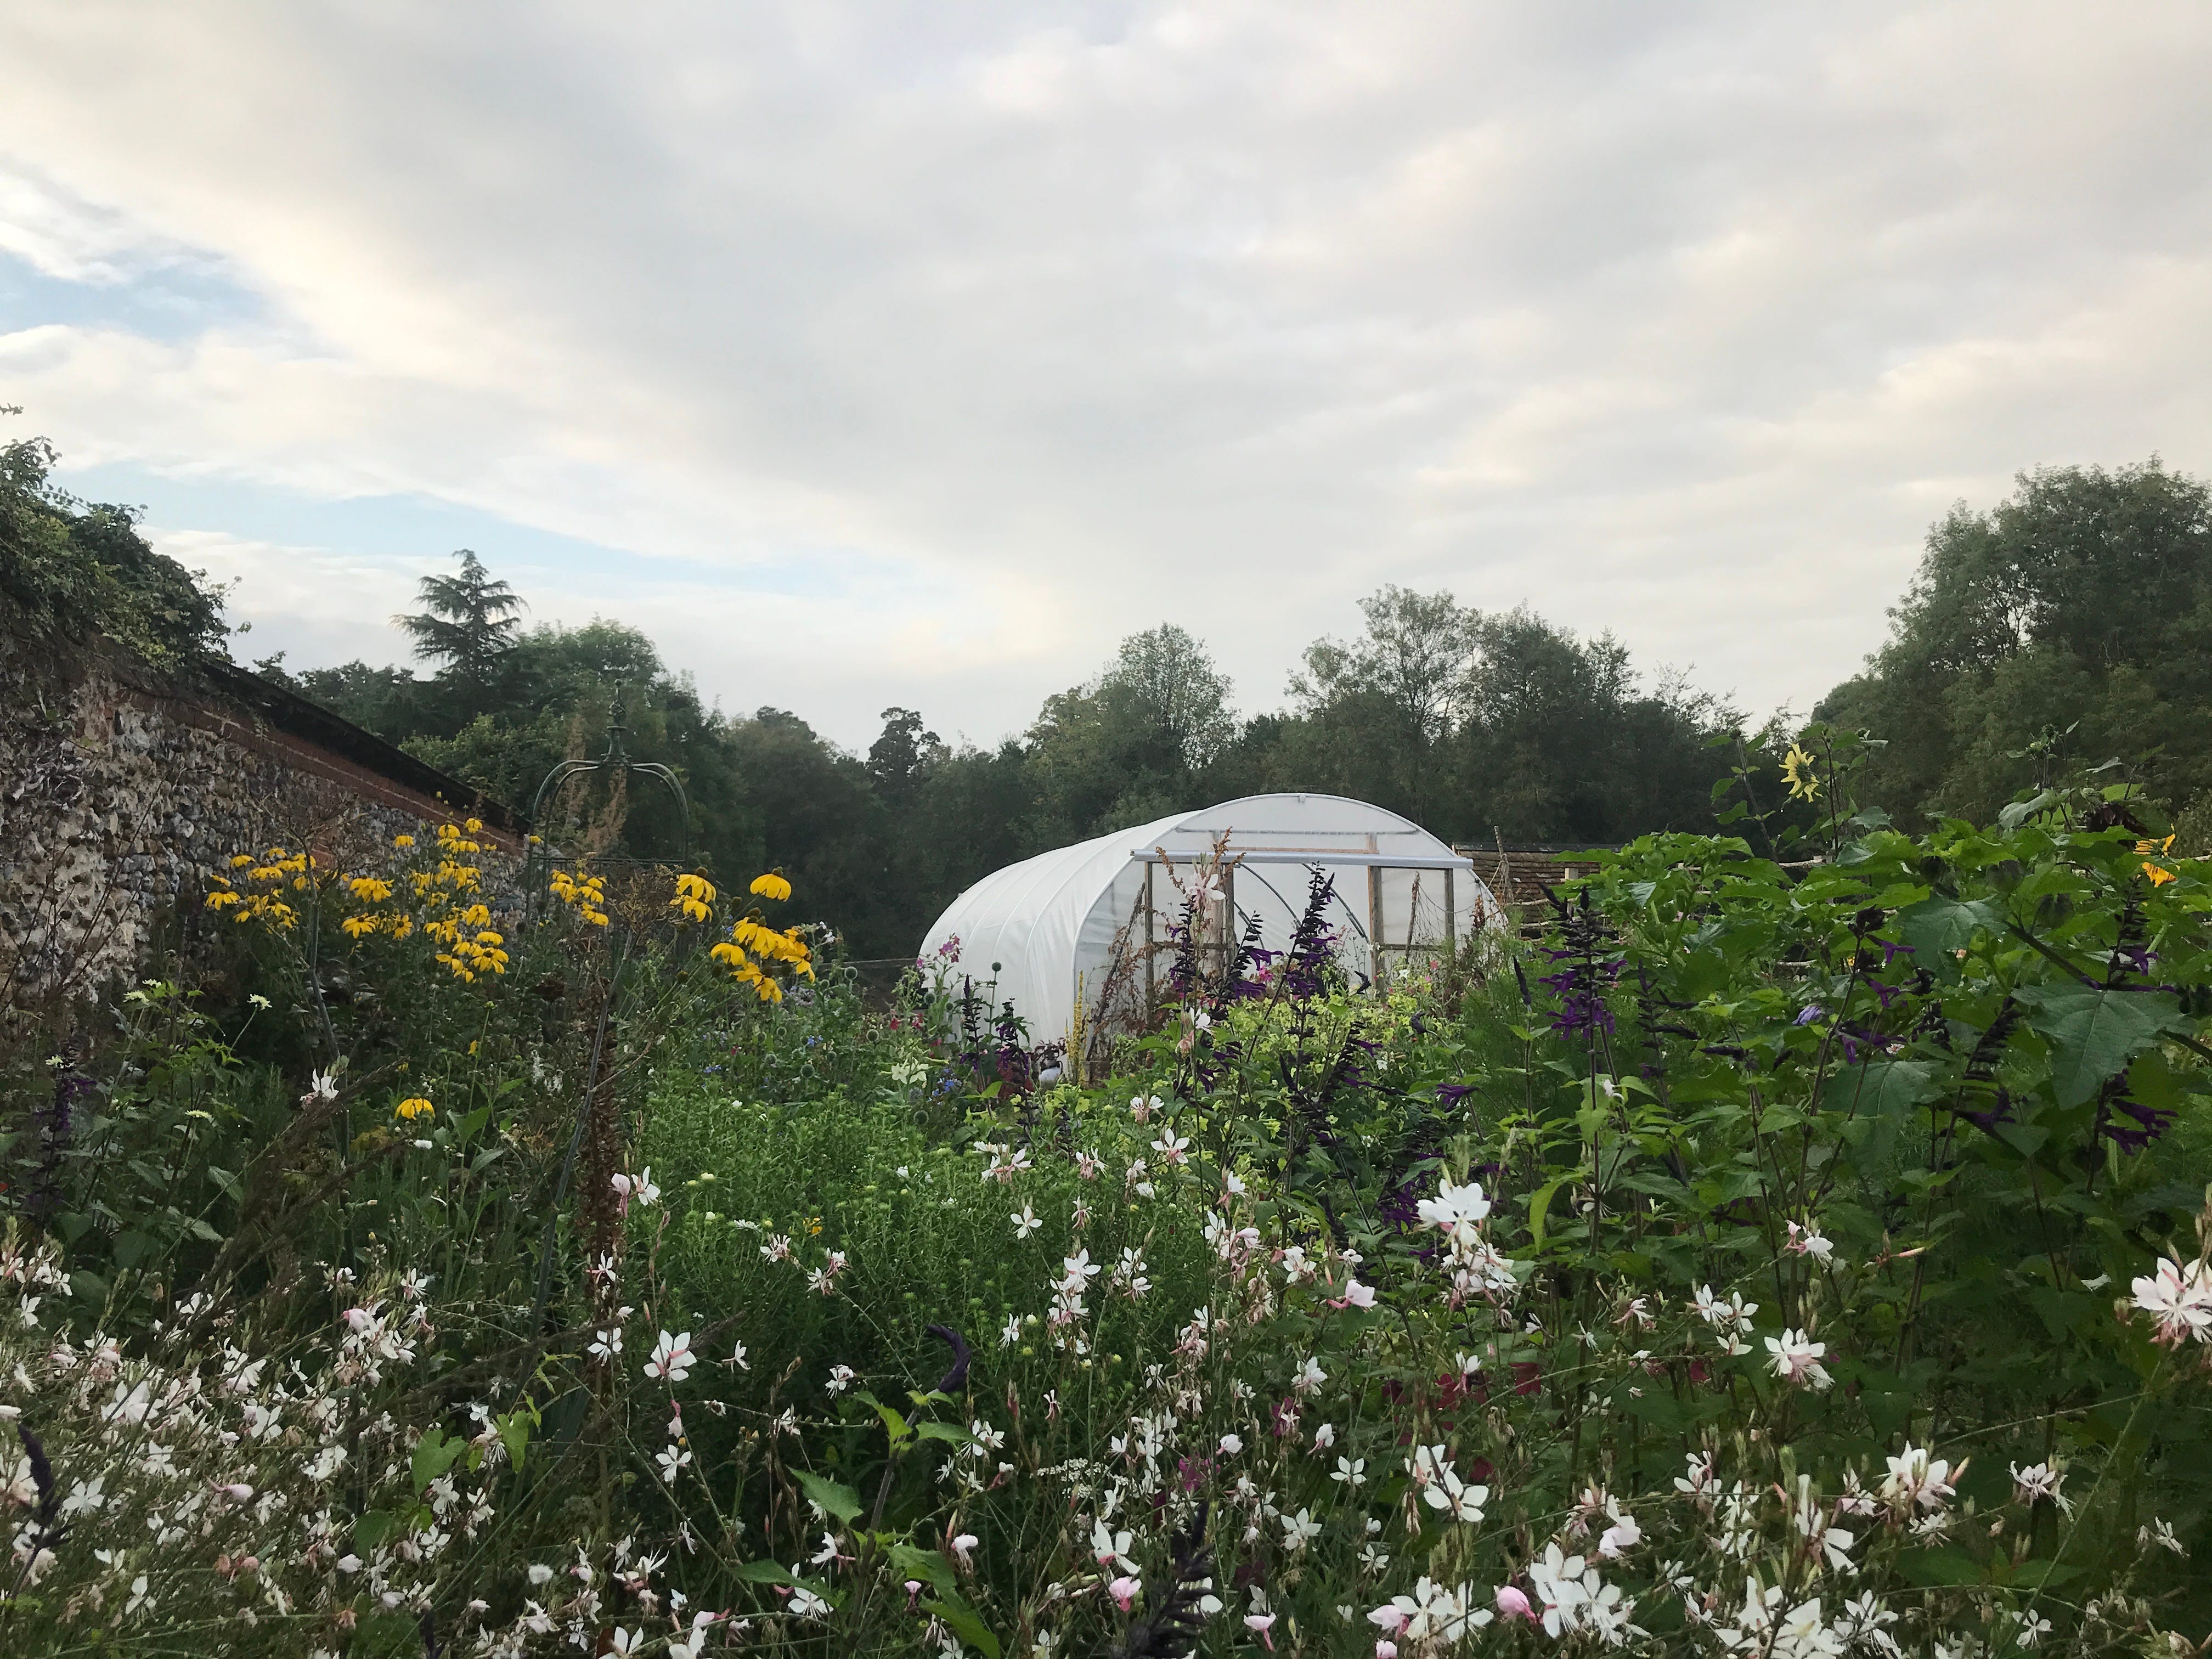
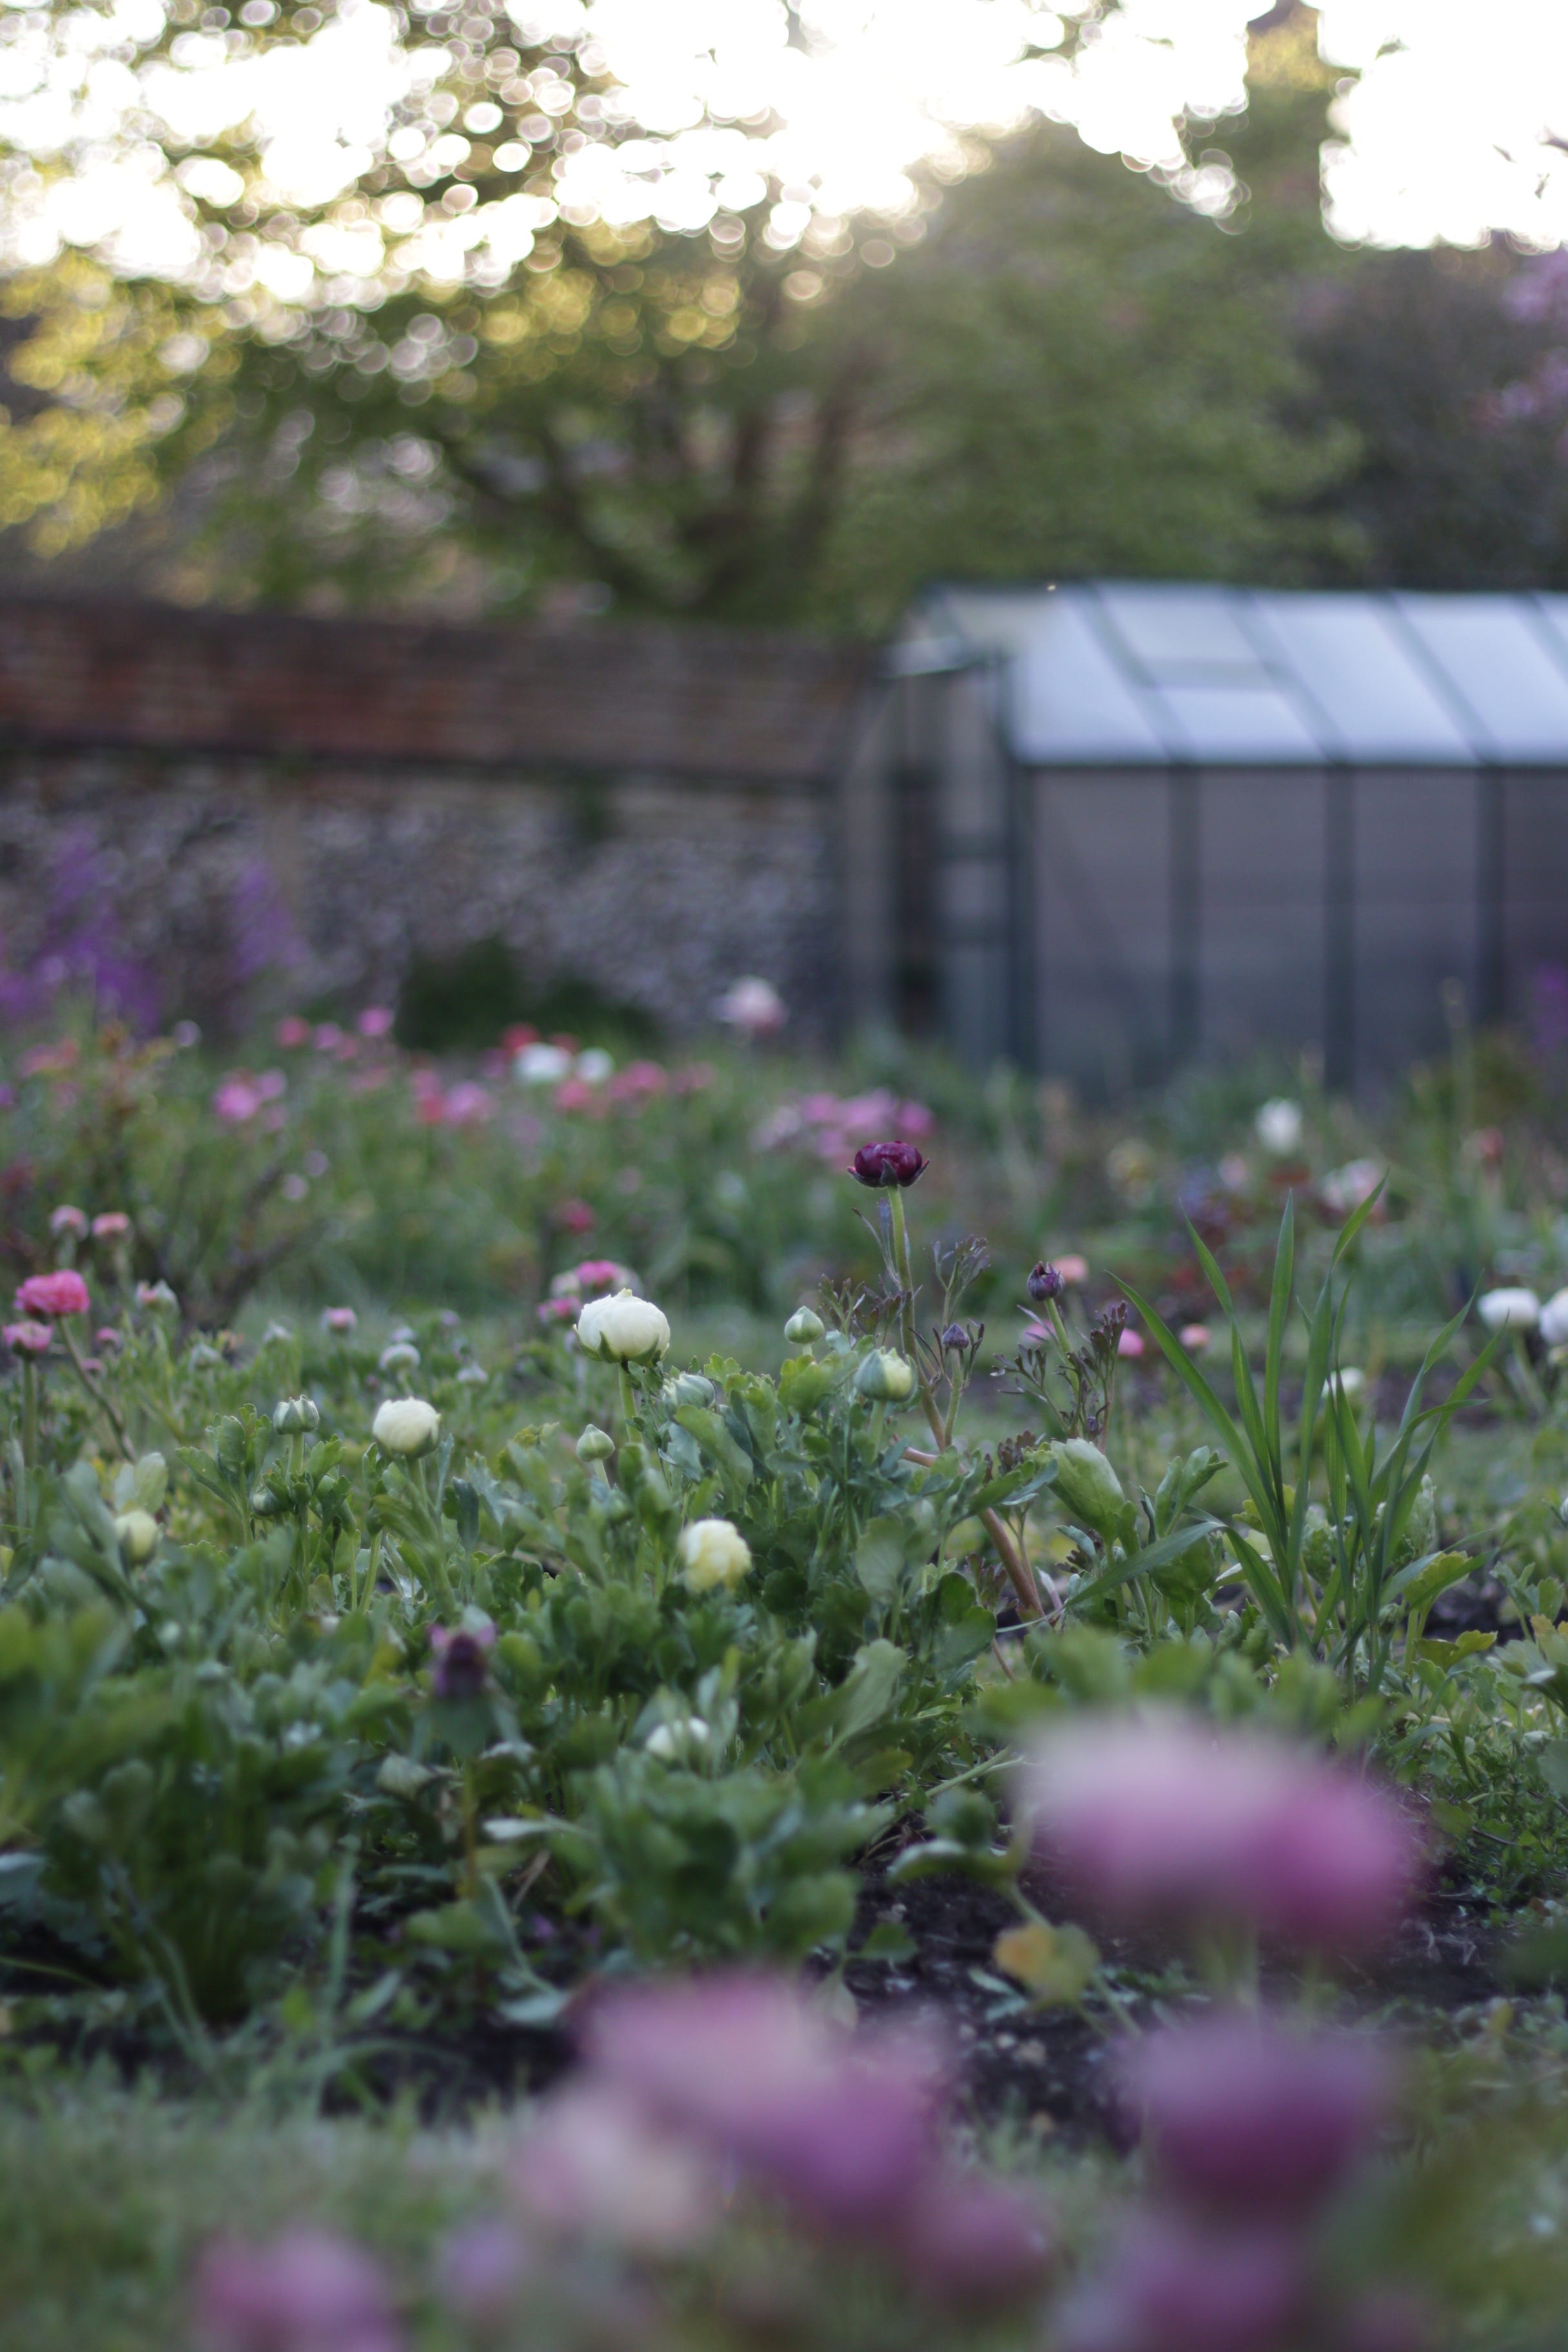
3. Placement of a polytunnel and/or greenhouse.
Ideally running north to south in a bright open position, but take care with the material selection when specifying it.
I have had polytunnels and greenhouses in sheltered spots, surrounded by trees but not overshadowed. This has been great and created more reliable growing spaces than cold or hot spaces when exposed completely to the elements. Think about ventilation for hot days.
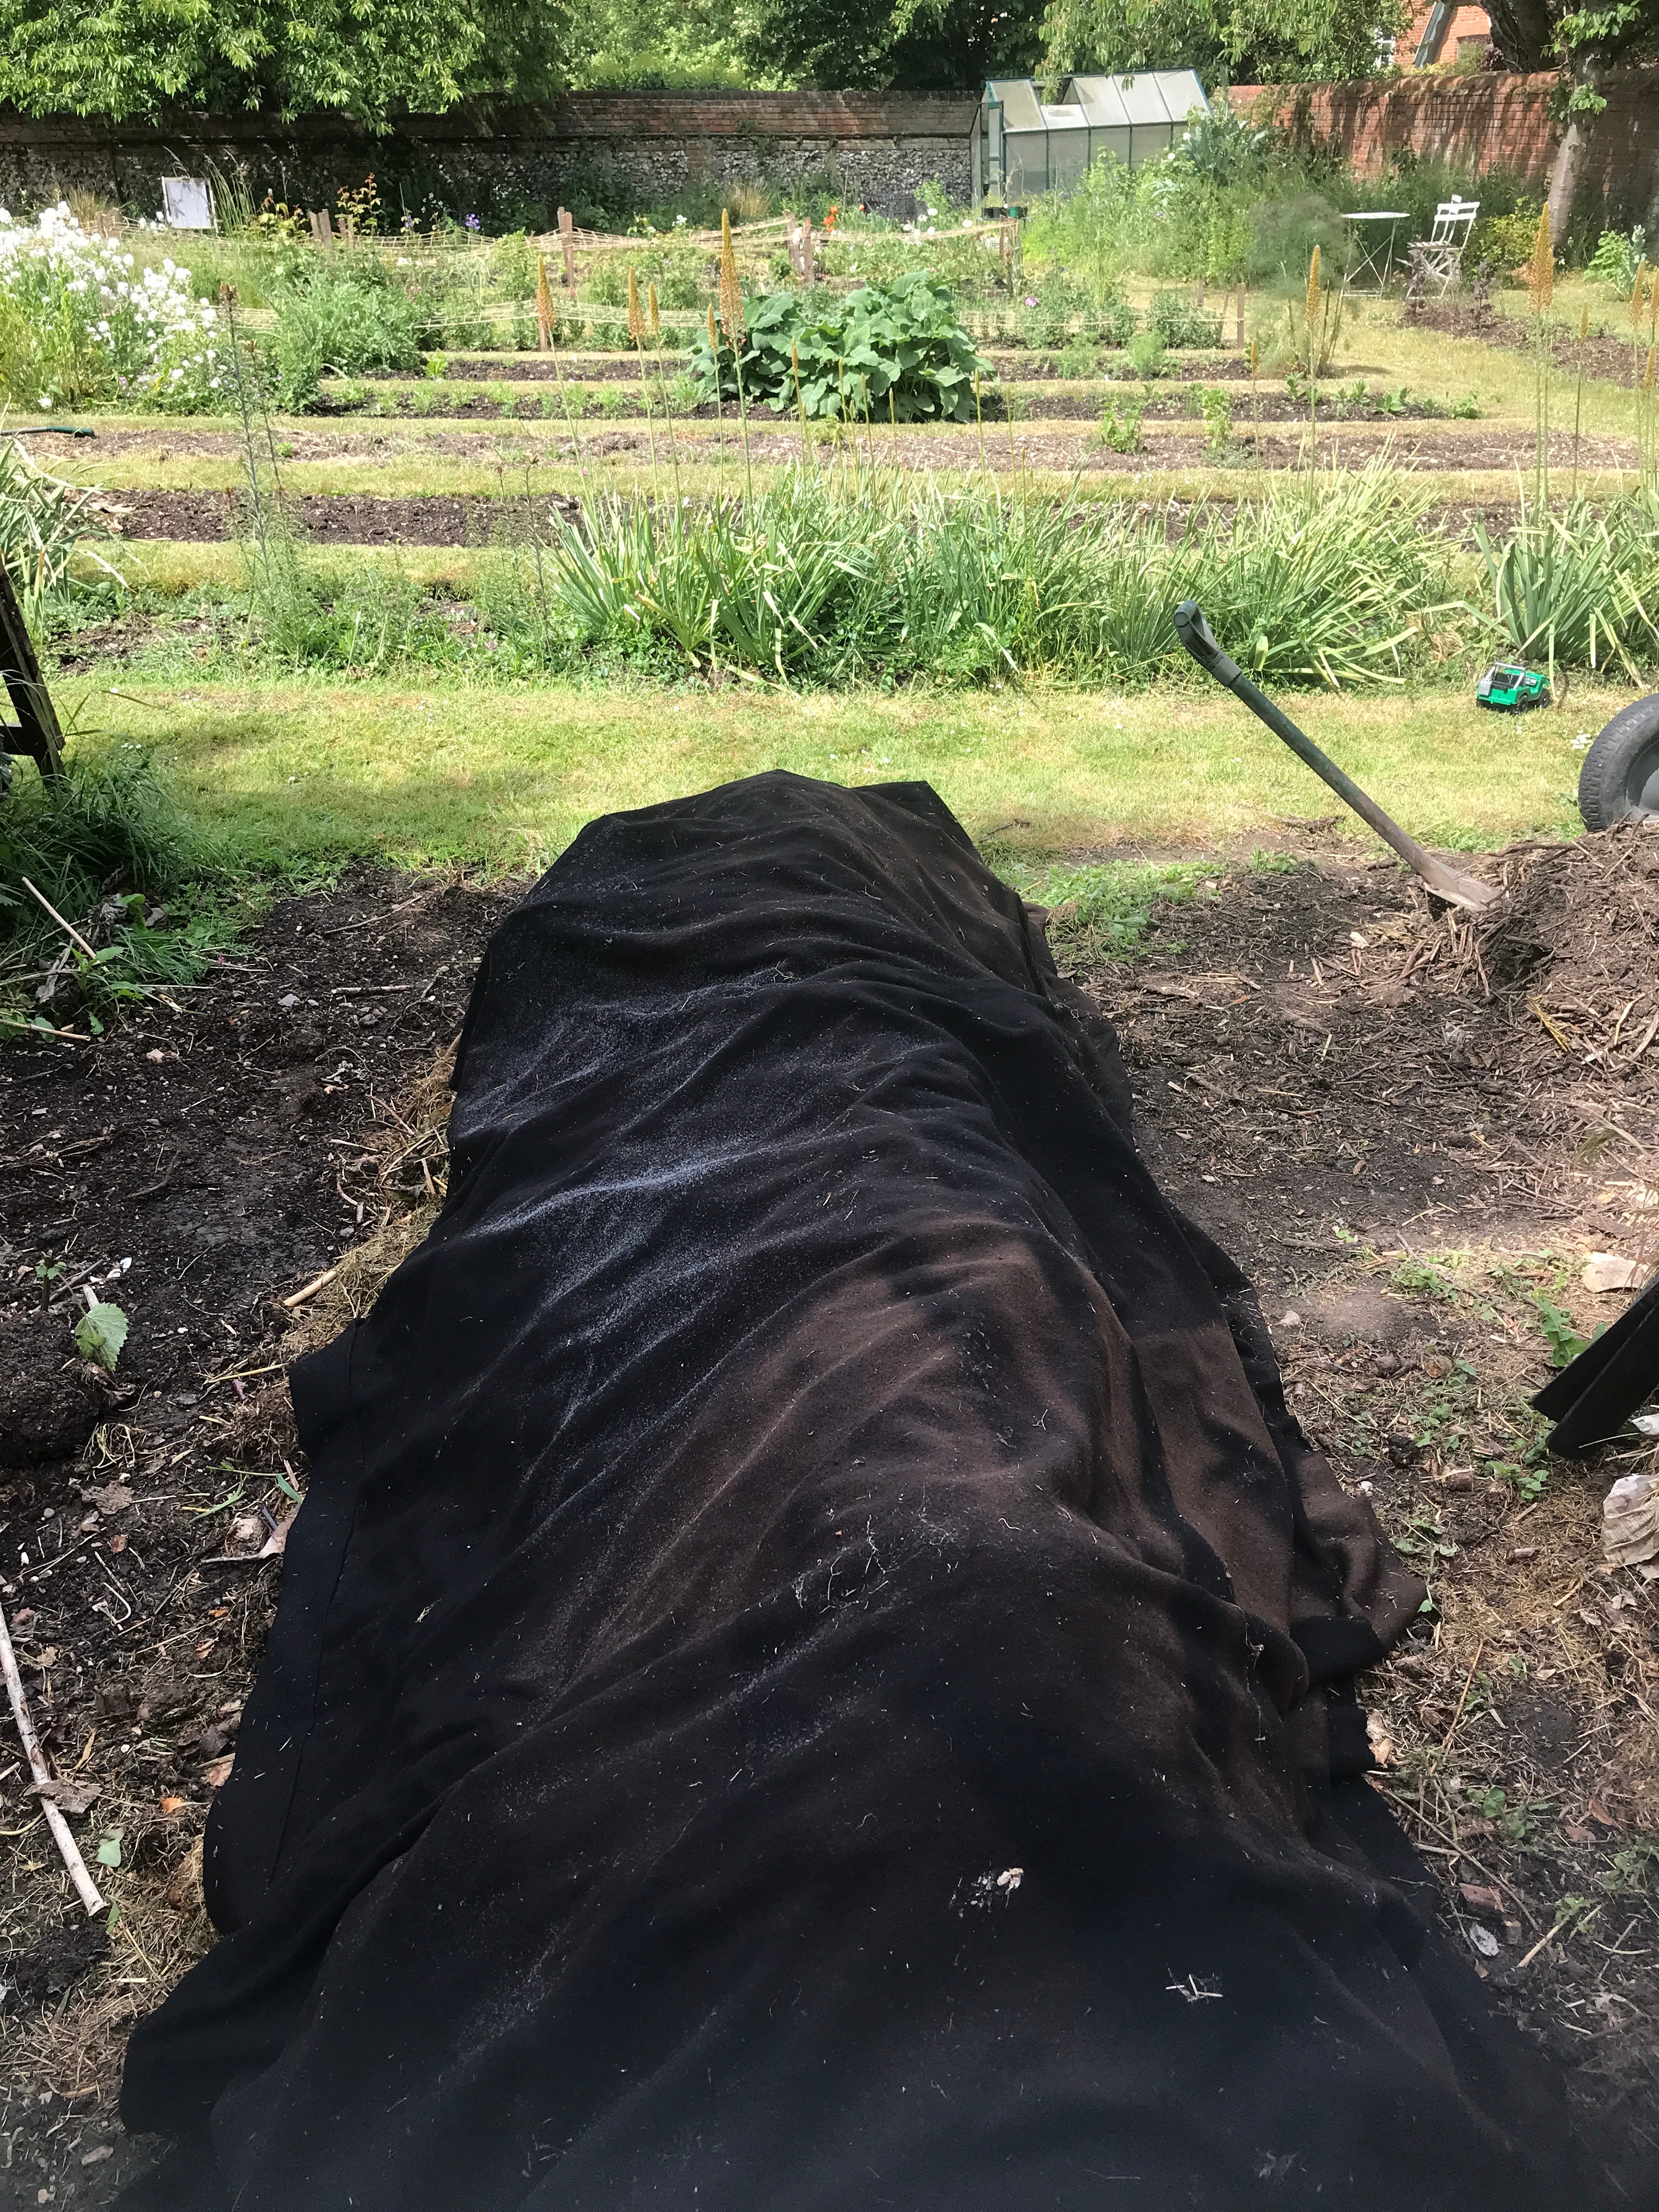
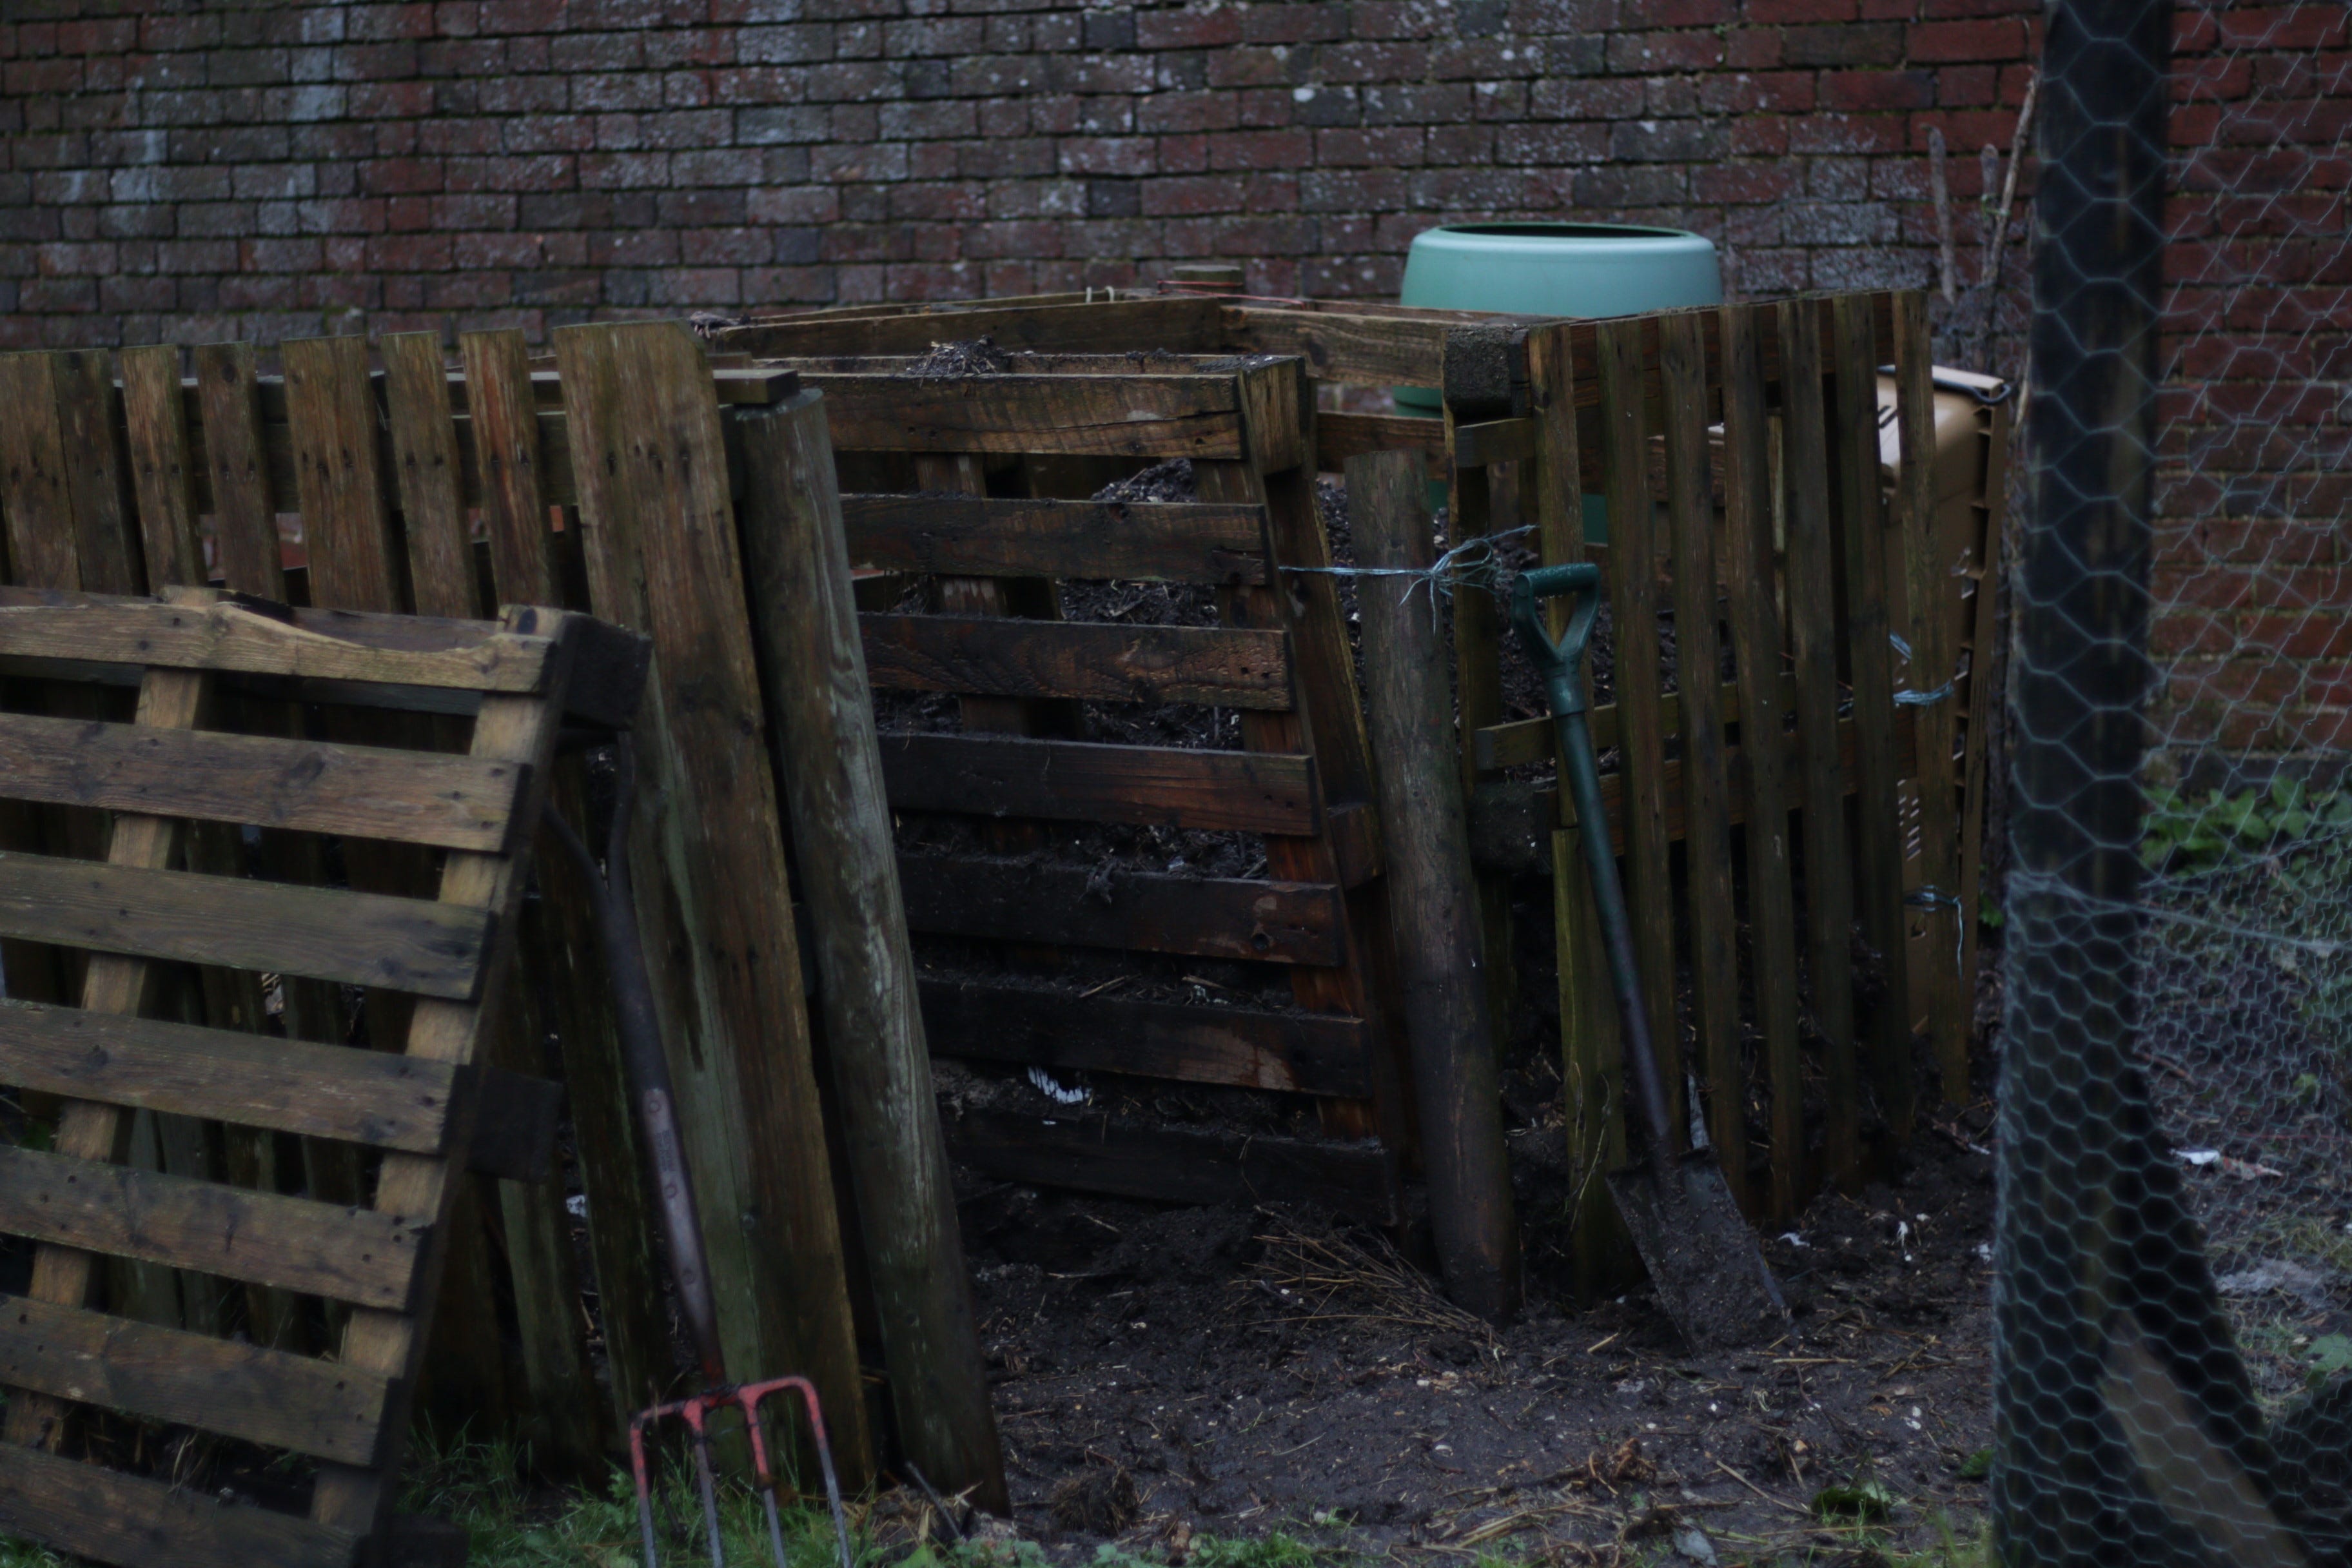
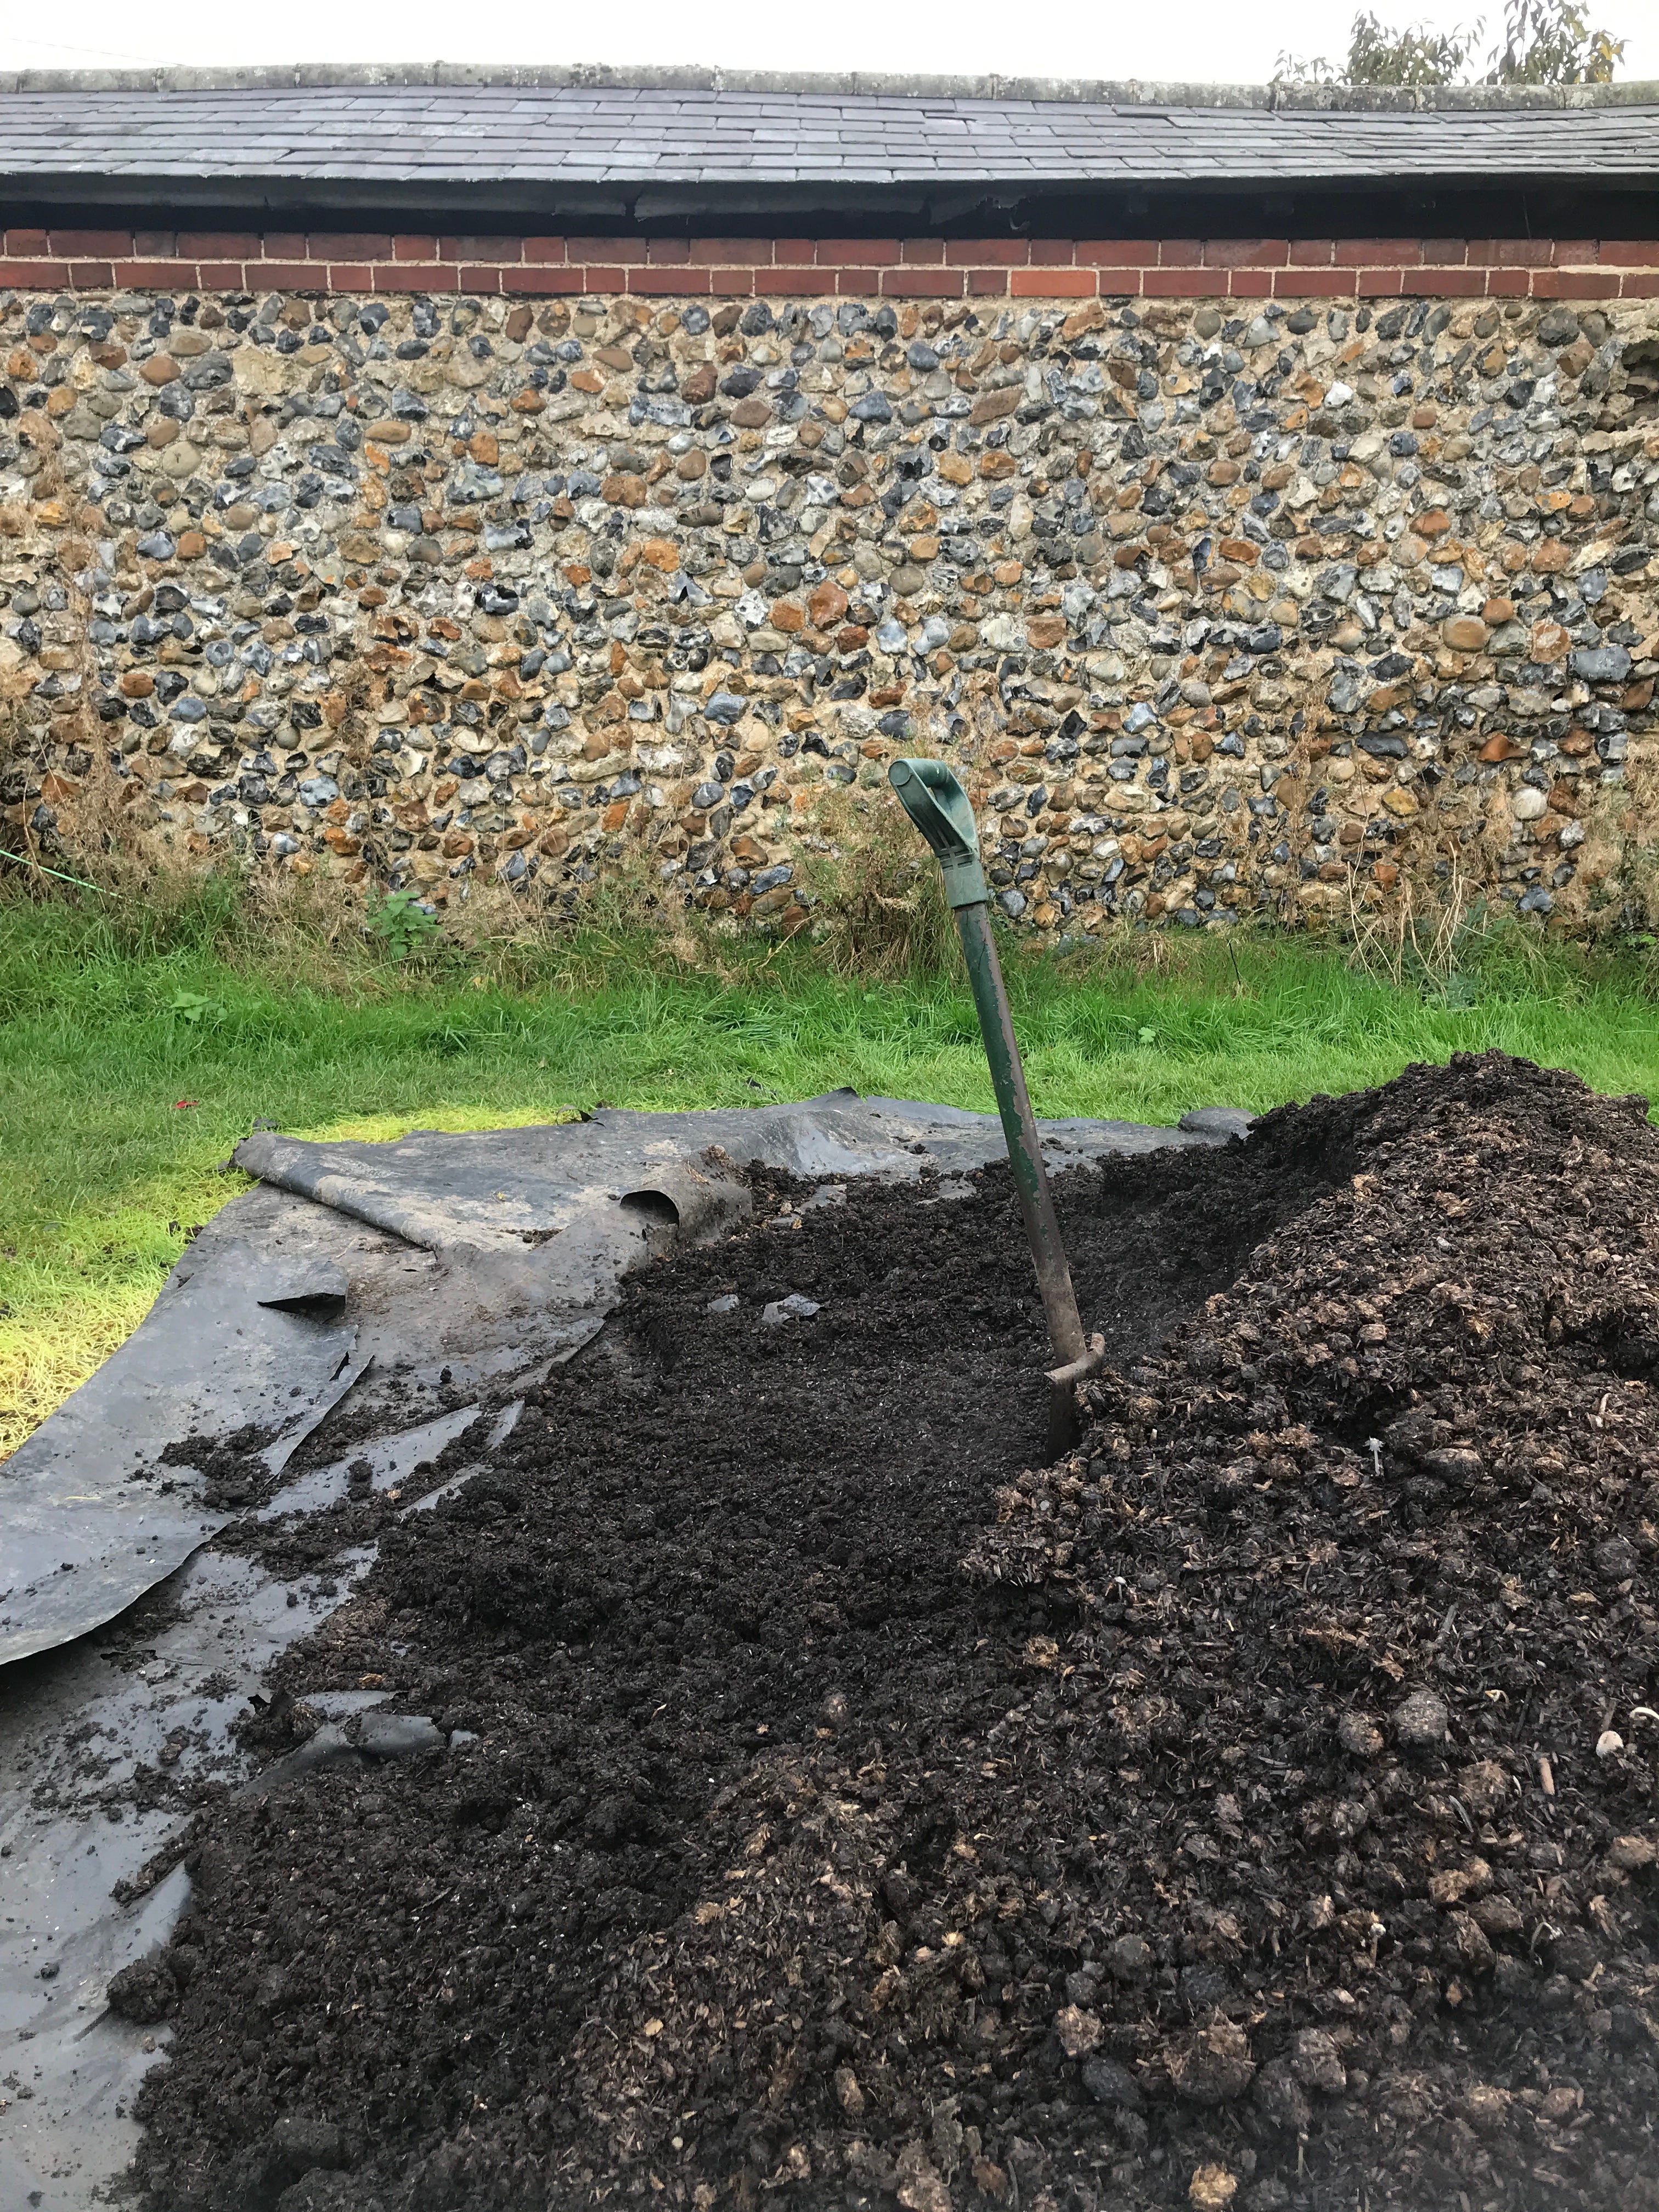
4. Compost heaps.
Compost heaps can be an eyesore nevertheless the breathing heart of your operation. We used to have boxed compost heaps made of reclaimed pallet but now I make them in the open, either rows that I turn or into large compost cakes. It is easier to collect material, turn heaps and access with a large open space to do so. Make sure you have plenty of room for this. Ideally in the middle of your plots too so you never have far to travel.
5. Delivery space.
Consider access for soil, mulch or bark deliveries, turn around space for a vehicle, watch out for muddy path and difficult drainage. Our field is can be treacherous to access in the wet seasons from late November until March. There is only one spot to deliver mulch to and we have to barrow it a long way.
If I knew all that in 2016, the plots may well look very different now!
I hope this helps and you enjoyed reading. If you want help designing your plot, you can book a 1.2.1. session with me to prevent mistakes and get it right the first time!